Grow your own salad
Here’s how — and so many reasons why.

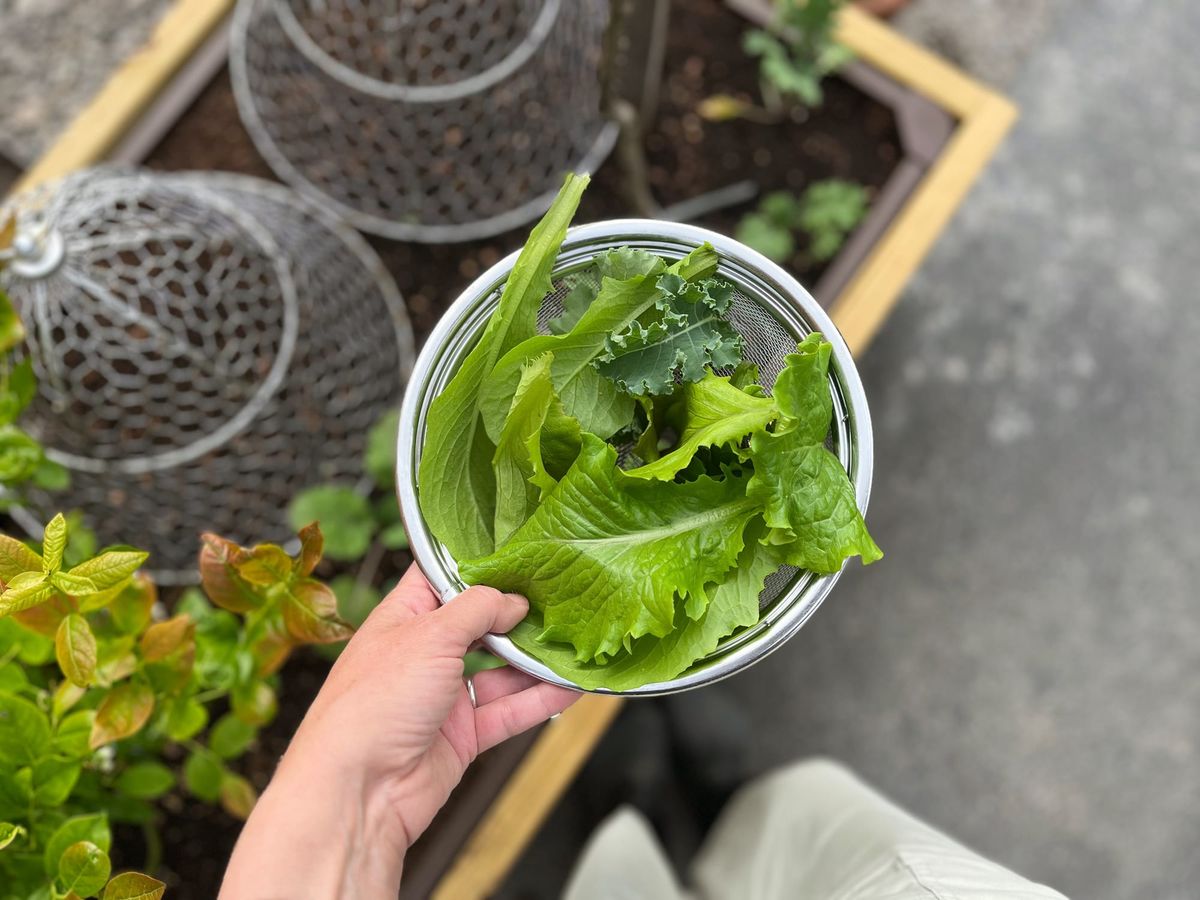
There are times when the house-of-cards nature of the world we’re living in feels both more vividly evident and more tenuous than other times. This past week — intermittently sheltering from the wildfire smoke while following the cyclospora news — being a peak example. I ran across a random comment somewhere in recent days (lost to me now) that made me feel intensely what a matter of extreme privilege it is to have dominion over a little patch of earth without particularly needing to use it to grow crop plants. The luxury of growing ornamentals, in other words, because there are plenty of places for me to get food. My driveway potager feeds us, yes (and I’ll have an update for you in short order), but it’s also in some sense a hobby garden. Until, of course, we’re reminded that industrial agriculture is a disaster on so many levels, and I thank the universe especially for the pot of lettuce on my stoop.
But also, I say thanks for the lettuce every single time I harvest a colander-full of leaves for the evening’s salad, or pick just one leaf for a sandwich, and I feel like there’s nothing more satisfying than that. So I’m here to encourage you to grow your own leafy greens, for all the reasons.
I’ve had several people say to me lately that they can’t grow lettuce, and I want you to know that I believe you can. (I’ve done it cool Northern California, brutally hot Florida, and now the wild swings of New York’s Hudson Valley.) And it takes so little effort, for so much reward, it’s more than worth a try.
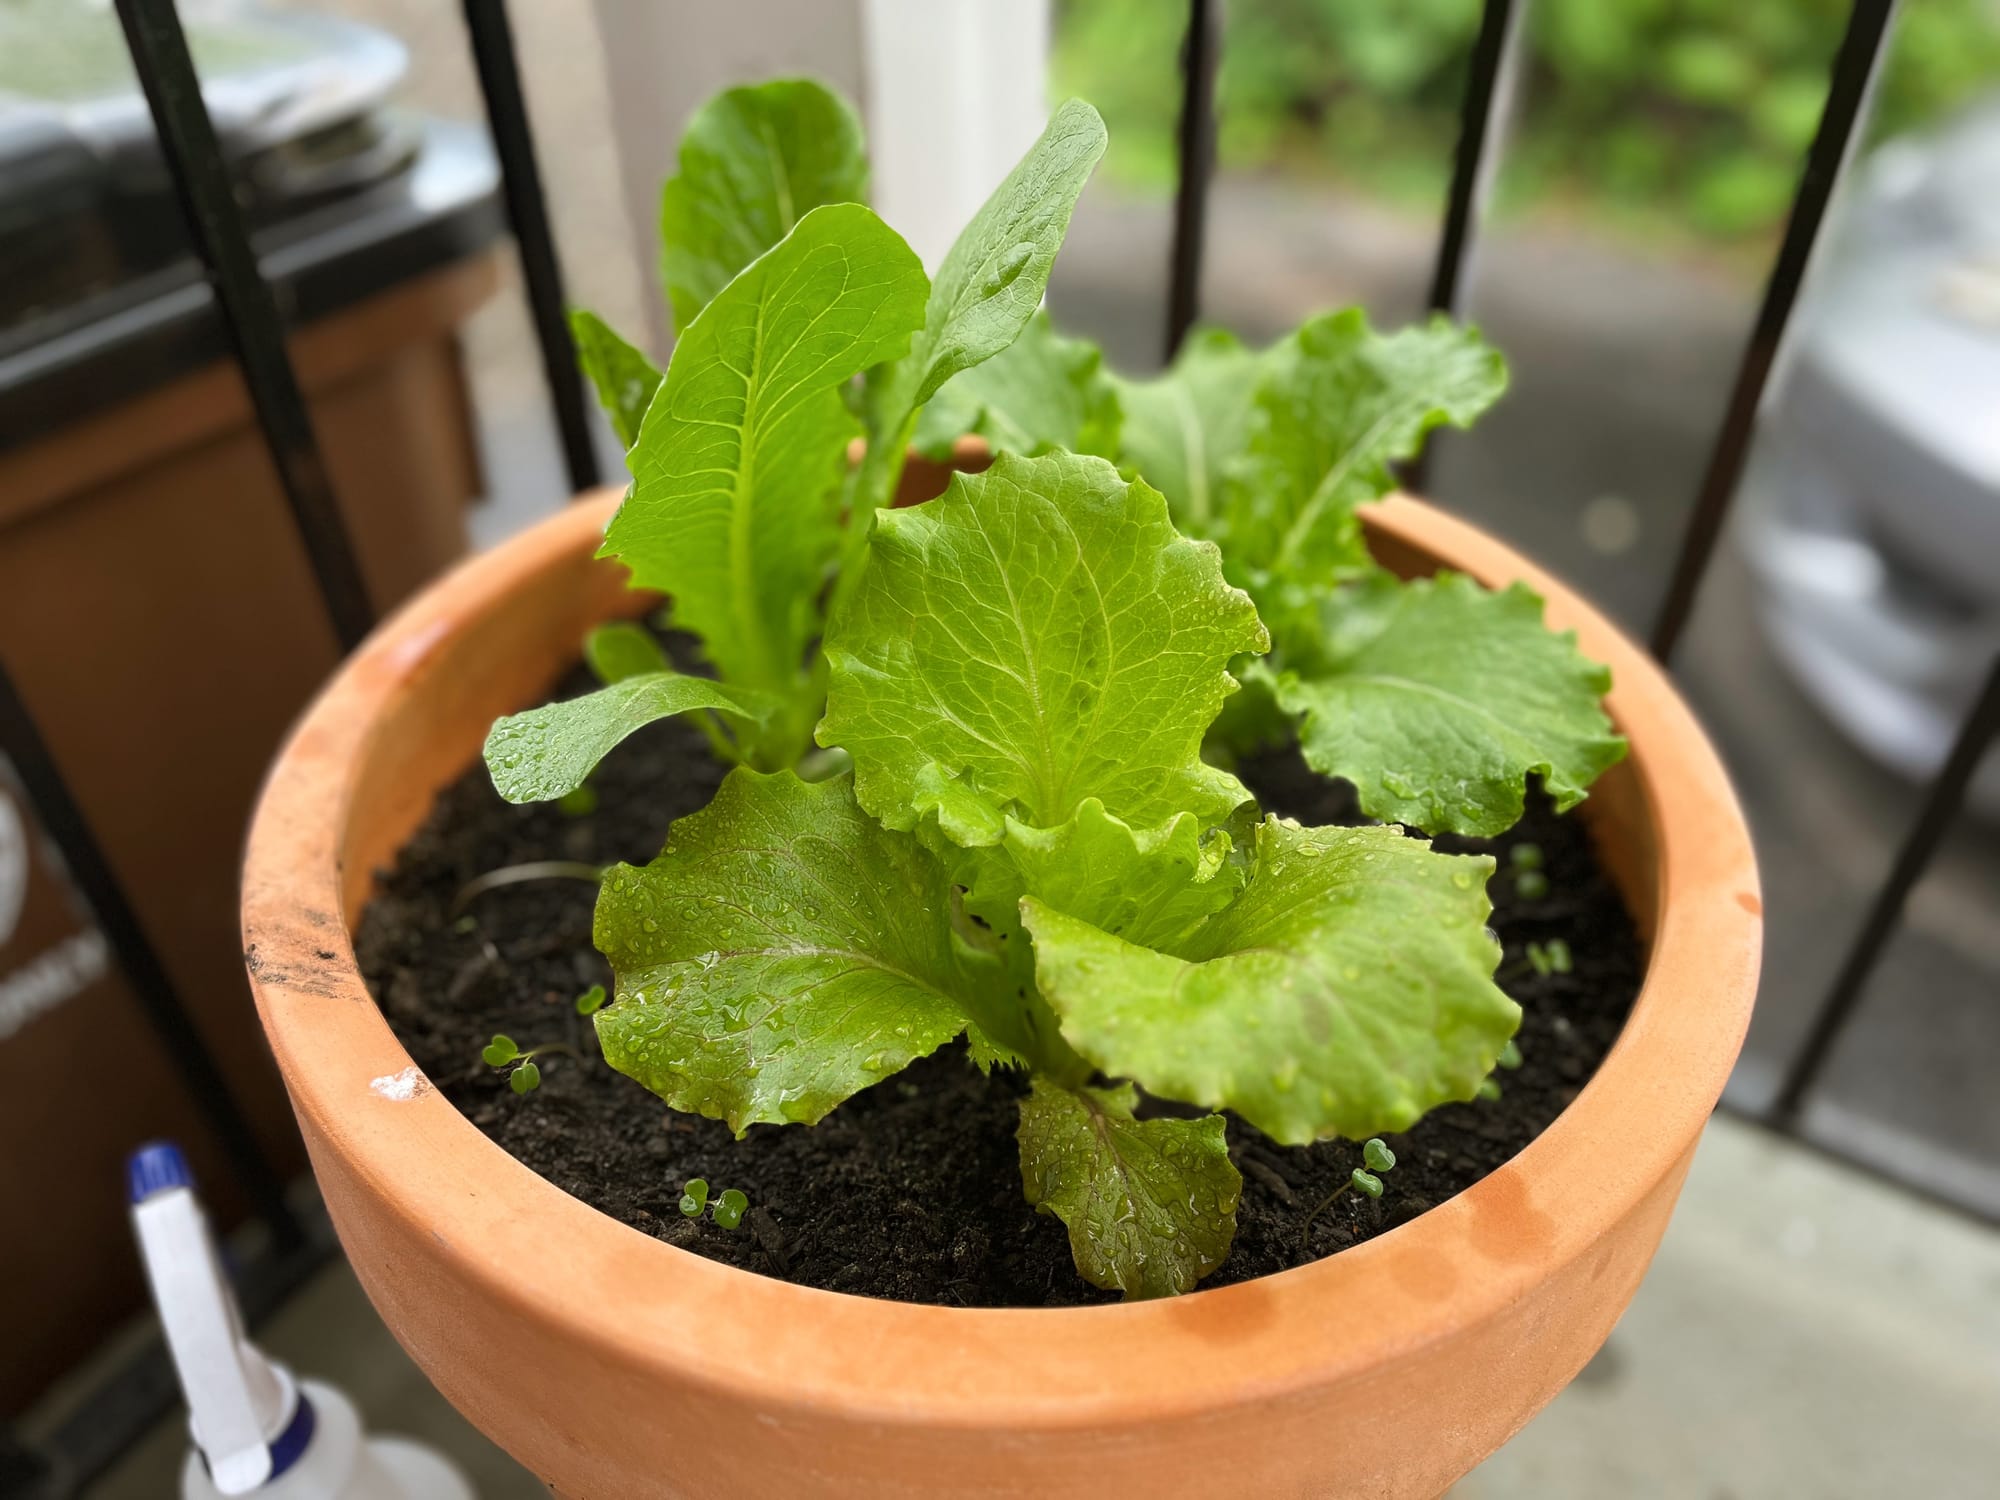
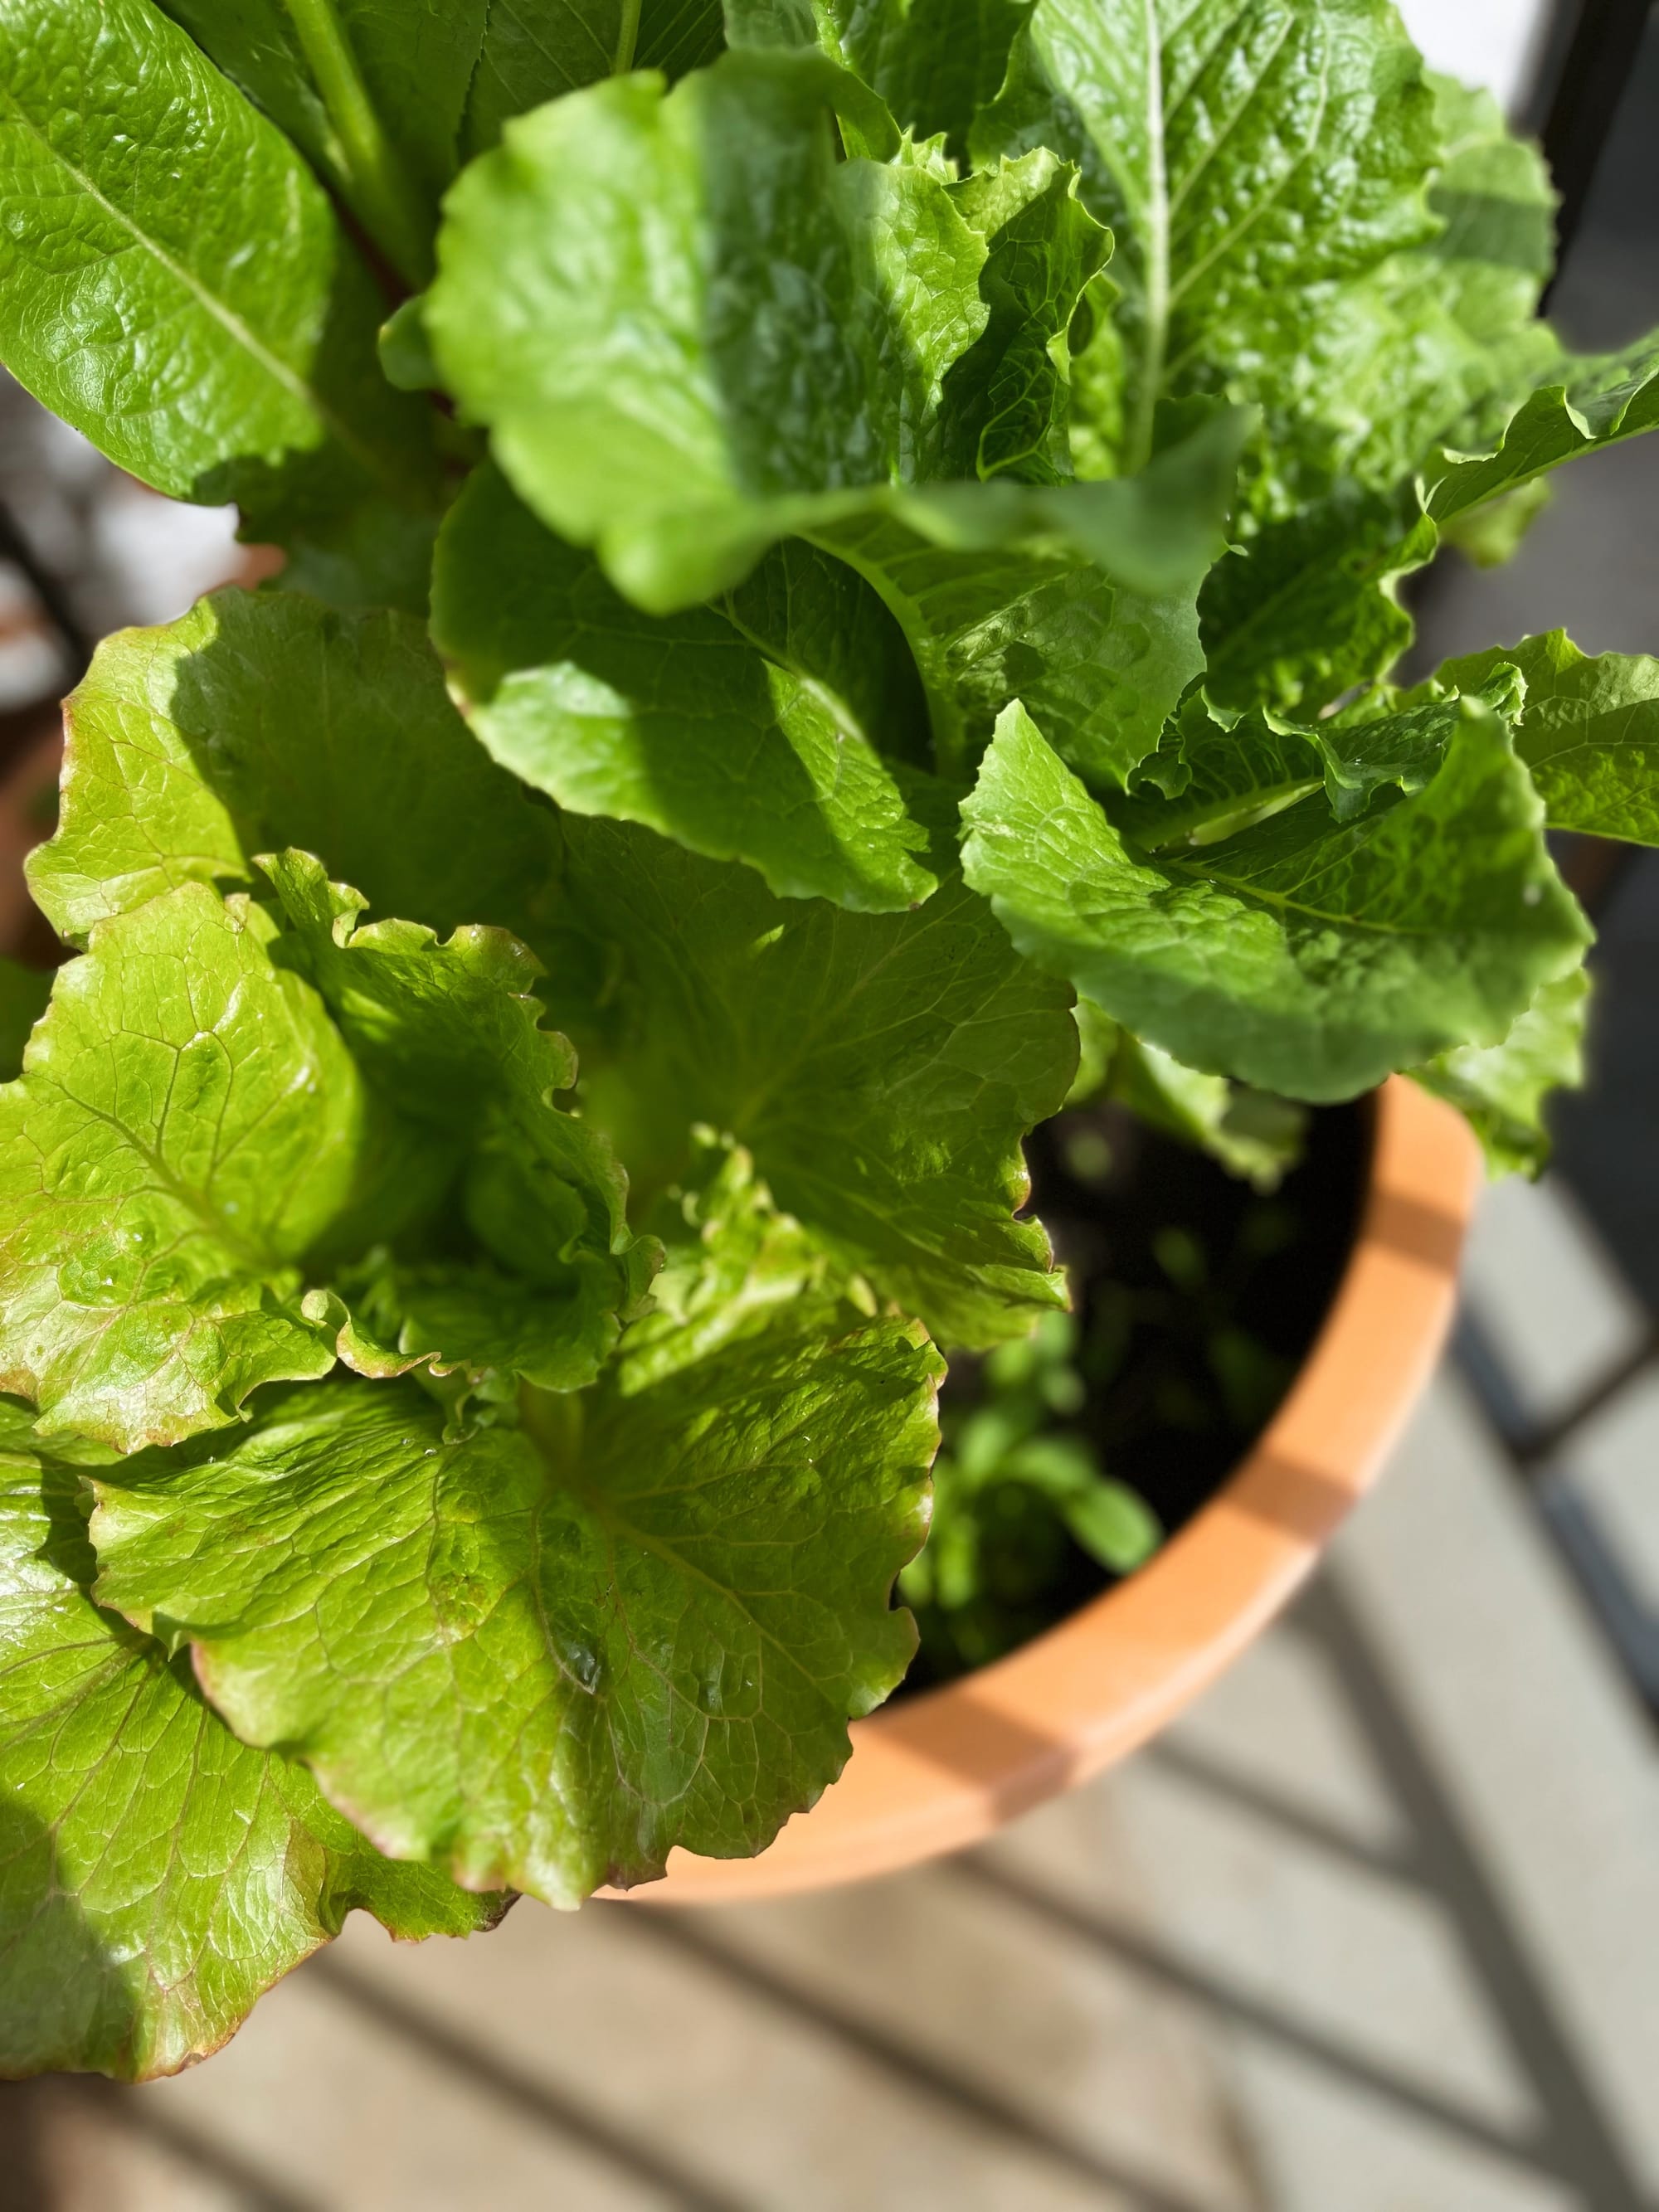
It’s amazing how far three heads in a pot can go — if you pick the right types. (See below.) The spray bottle of water is for keeping the arugula seedlings damp while they germinated.
It’s really as simple as this—
1. Fill a large clay pot with a bag of good organic potting mix.
2. Sprinkle some lettuce seeds (specifics below) onto the dirt. Dampen regularly until they germinate. Then water as needed as the plants grow — meaning, when the soil dries out, wet it down; watering the soil, not the leaves. (In a pot, in summer, you probably want to water every morning — maybe again in the evening in a heat wave.)
3. Pick leaves as needed, either as baby greens or full-grown, your choice. Rinse and enjoy!
But here are my further thoughts, top picks, and various tips—
• There’s nothing like a tomato picked straight from the vine, or a carrot pulled fresh from the ground (for which there is no equivalent on earth). But being able to step outside and pick just the right amount of greens at that moment — no plastic clamshell container you suspect deep down won’t actually get recycled, no worry about whether the rest of the overpacked container will get eaten before it rots — is my absolute favorite thing.
• Speaking of which, homegrown greens are also a bargain, not just because of the lack of waste. Grown either from seeds or starts, you’ll save a fortune over those expensive grocery store containers.
• You’ll also have control over growing it organically. Just make sure you start with organically derived seeds or seedlings. (Easy to come by, see below.)
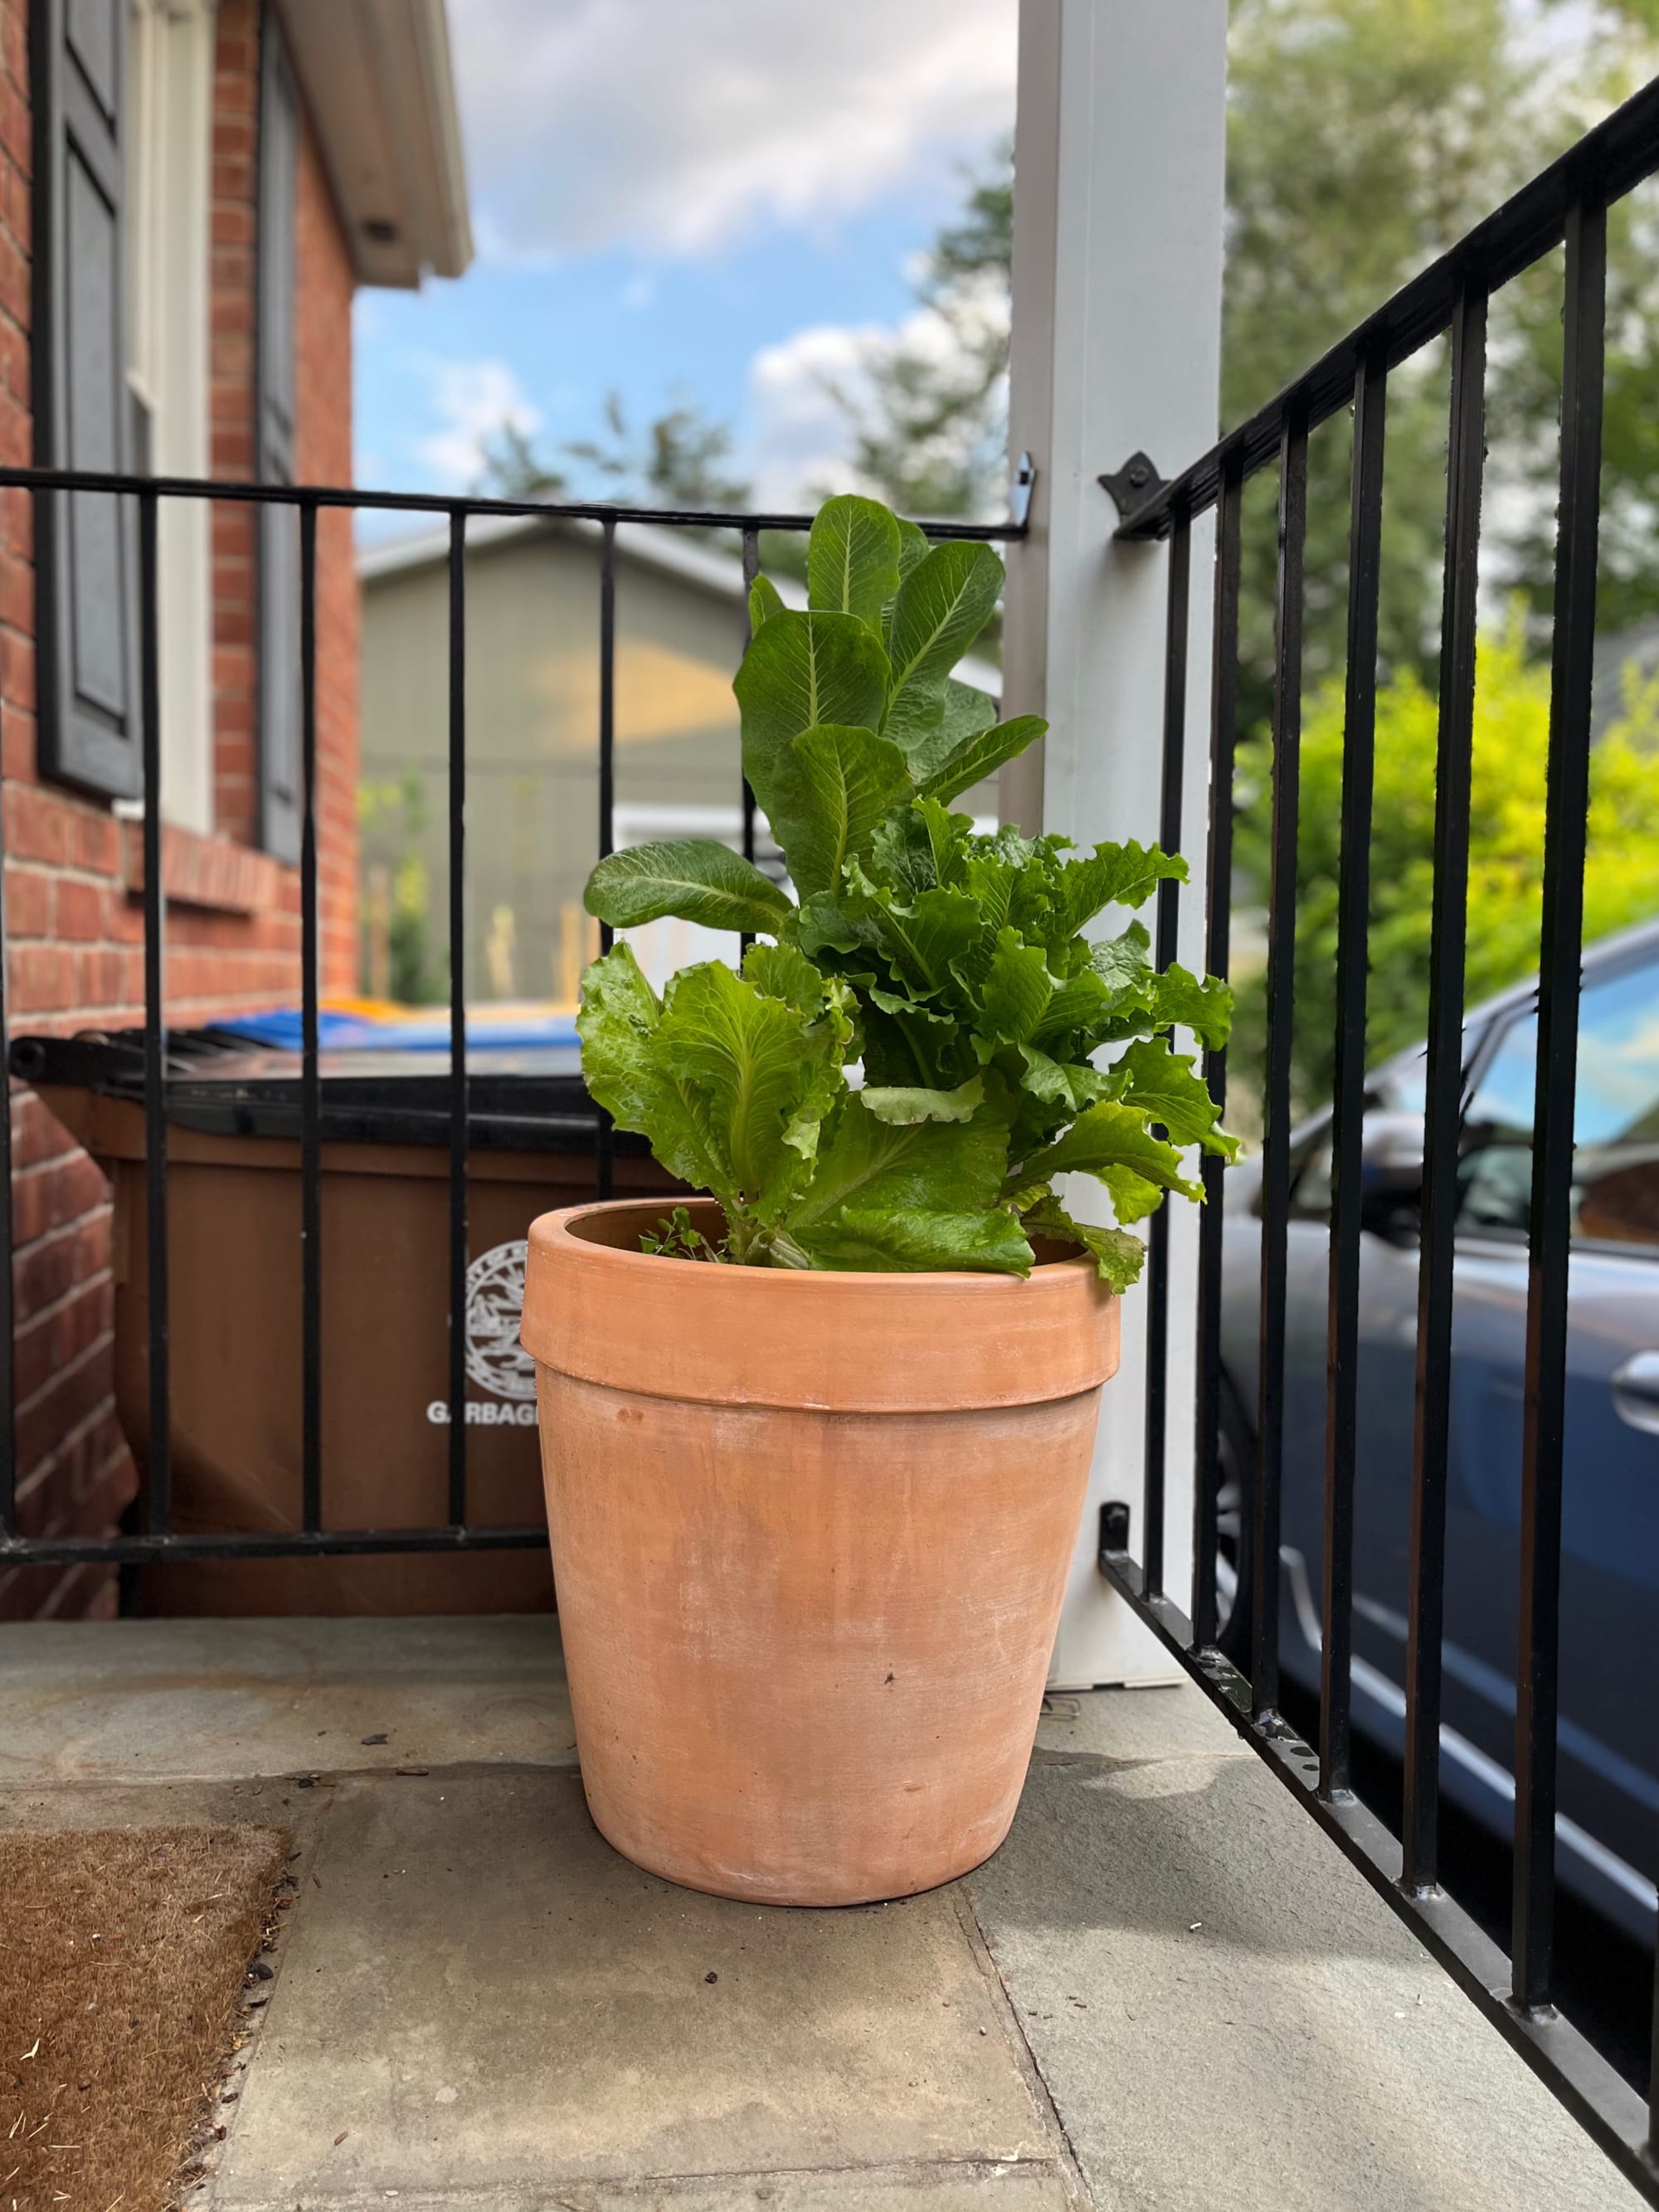
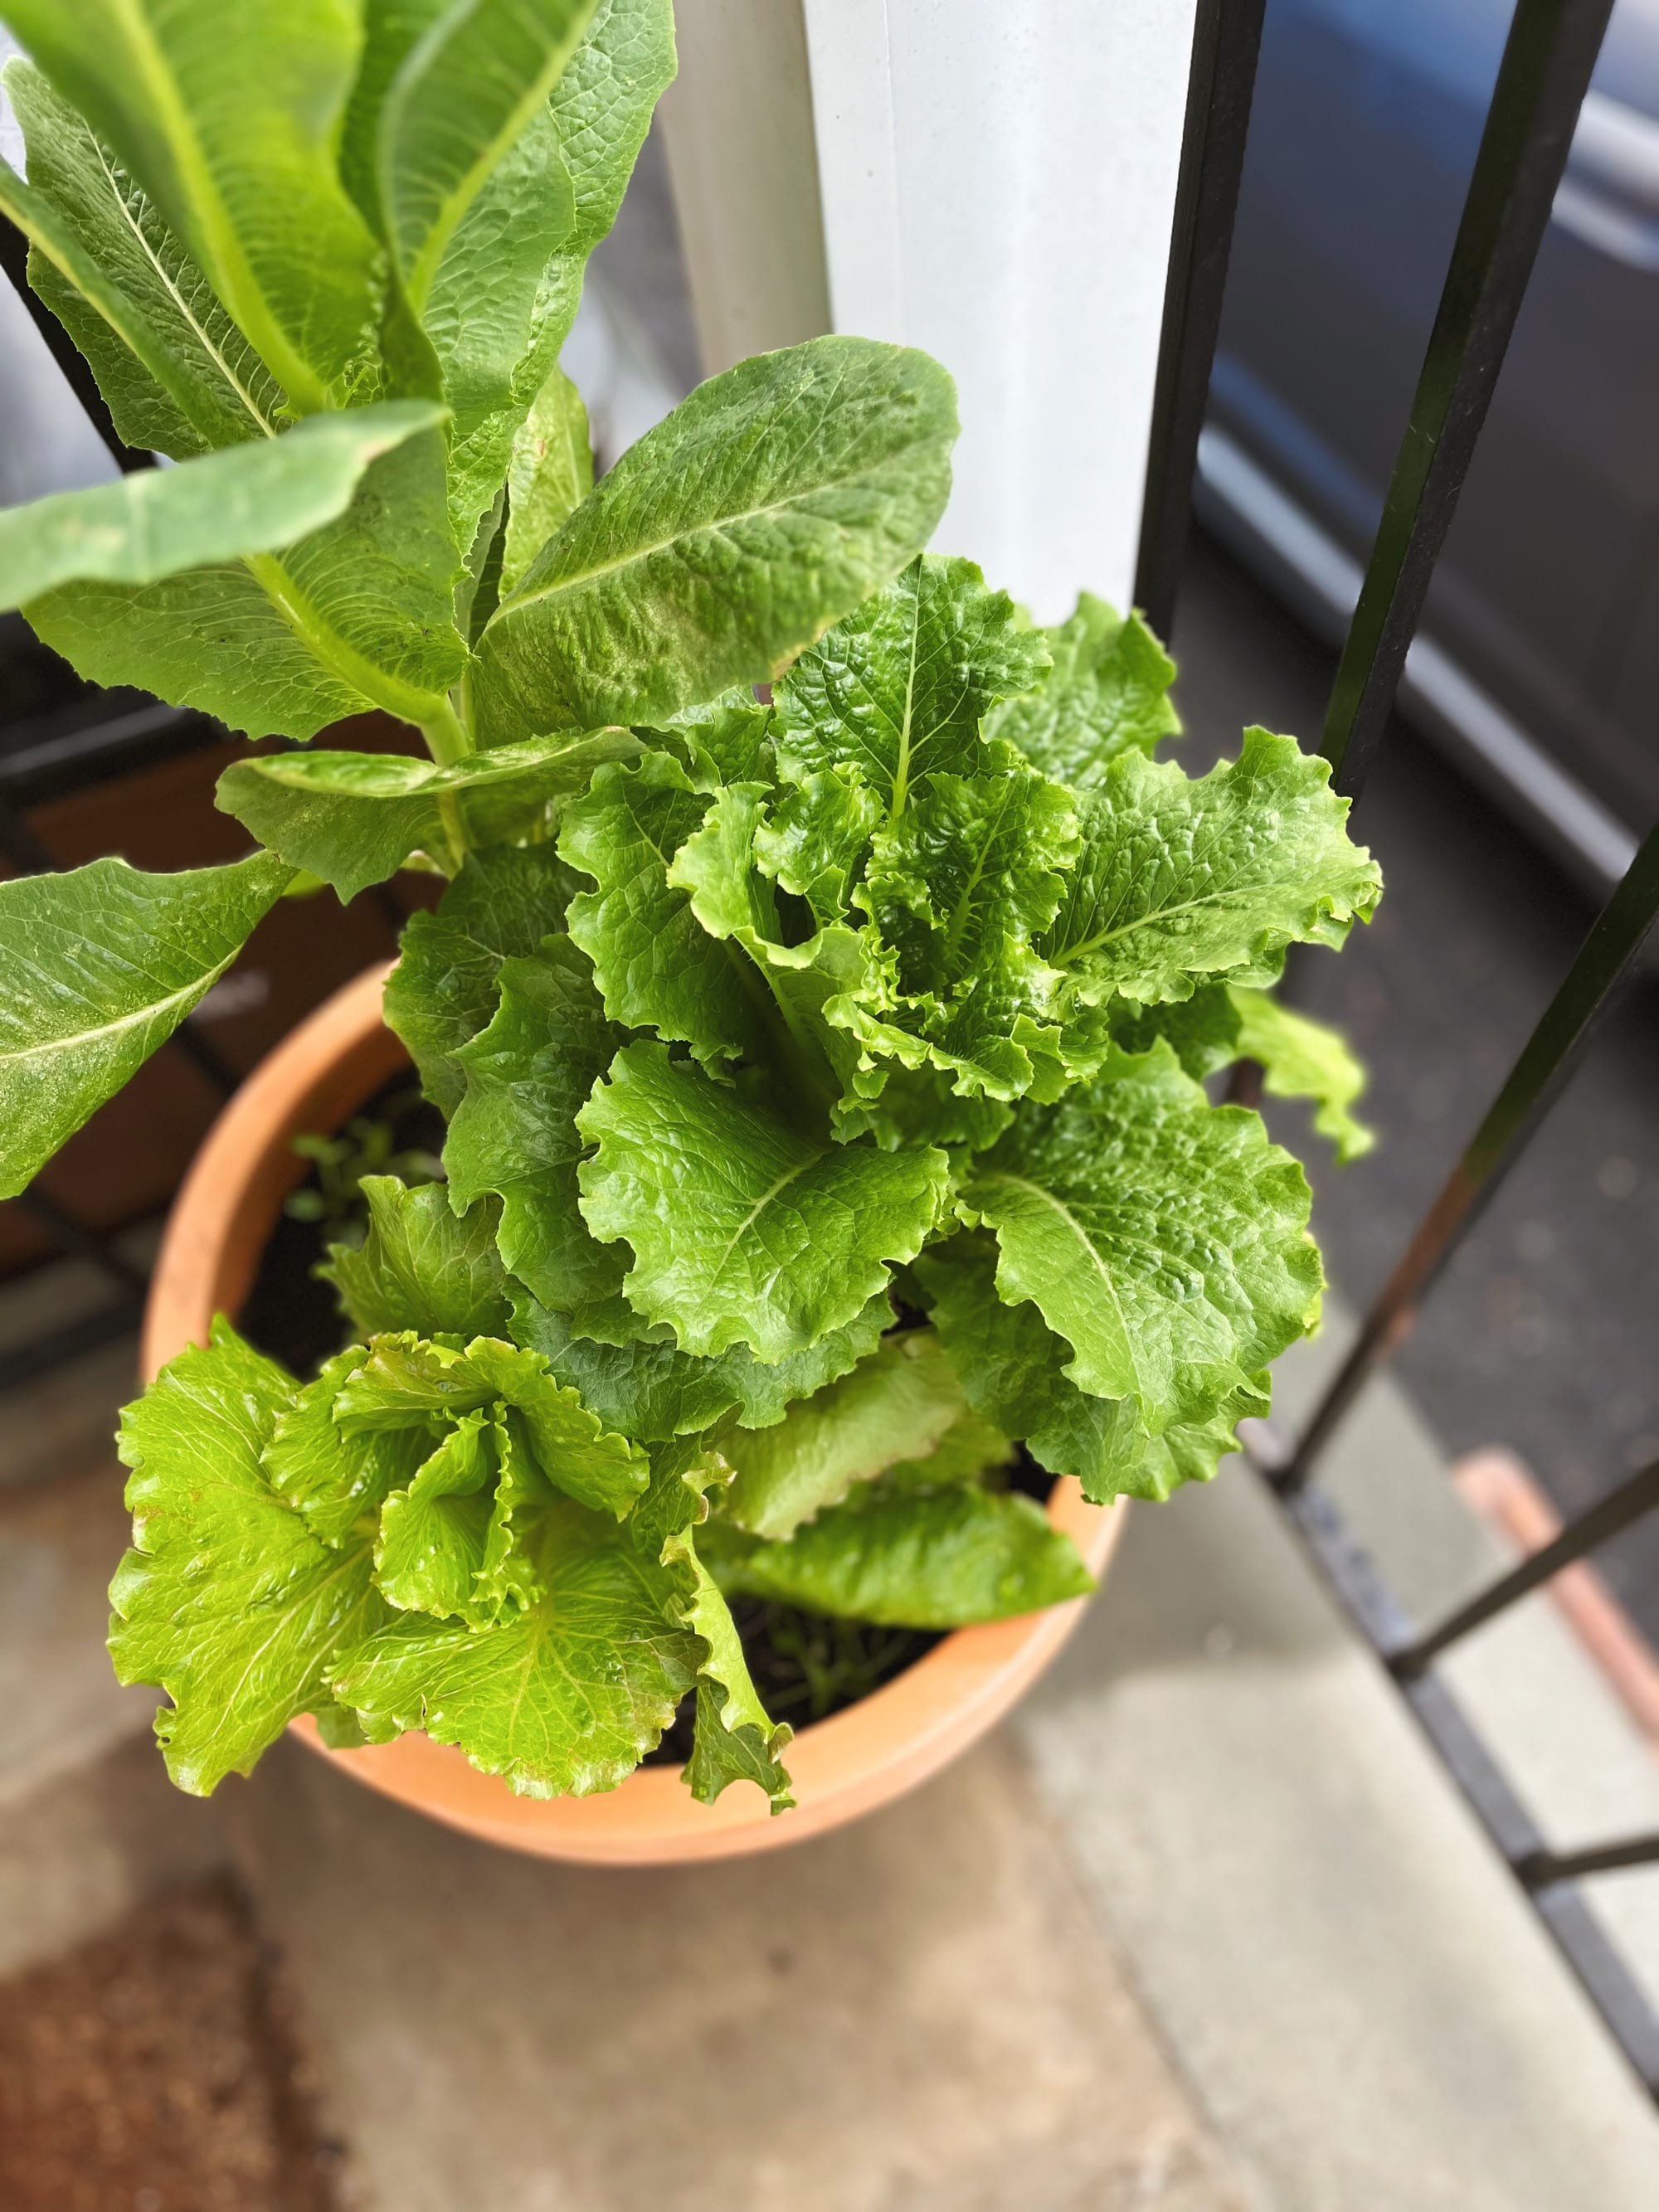
• Growing greens is ridiculously easy, as you can tuck them in just about anywhere. In a vegetable bed, I will always scatter them in under the tomato plants, where the more tender among them can get afternoon shade from the tomato vines. However, I currently have three heads of lettuce in a pot on my stoop (total cost about $3), and the two of us have been eating from those three for over two months — without my having reseeded or replanted anything.
• That’s because they are “cut and come again” varieties. People tend to think you need a lot of space and rows of lettuces, and that you have to harvest a whole head at once and be left with both a gap in the row (to reseed in carefully timed succession) and a whole head to consume. True of some lettuces! Not true of cut-and-come-again types, where you simply take leaves from the outside of the plant as needed and it continues growing new ones from the center. This is also true for kale — just take what you need and leave the rest growing.
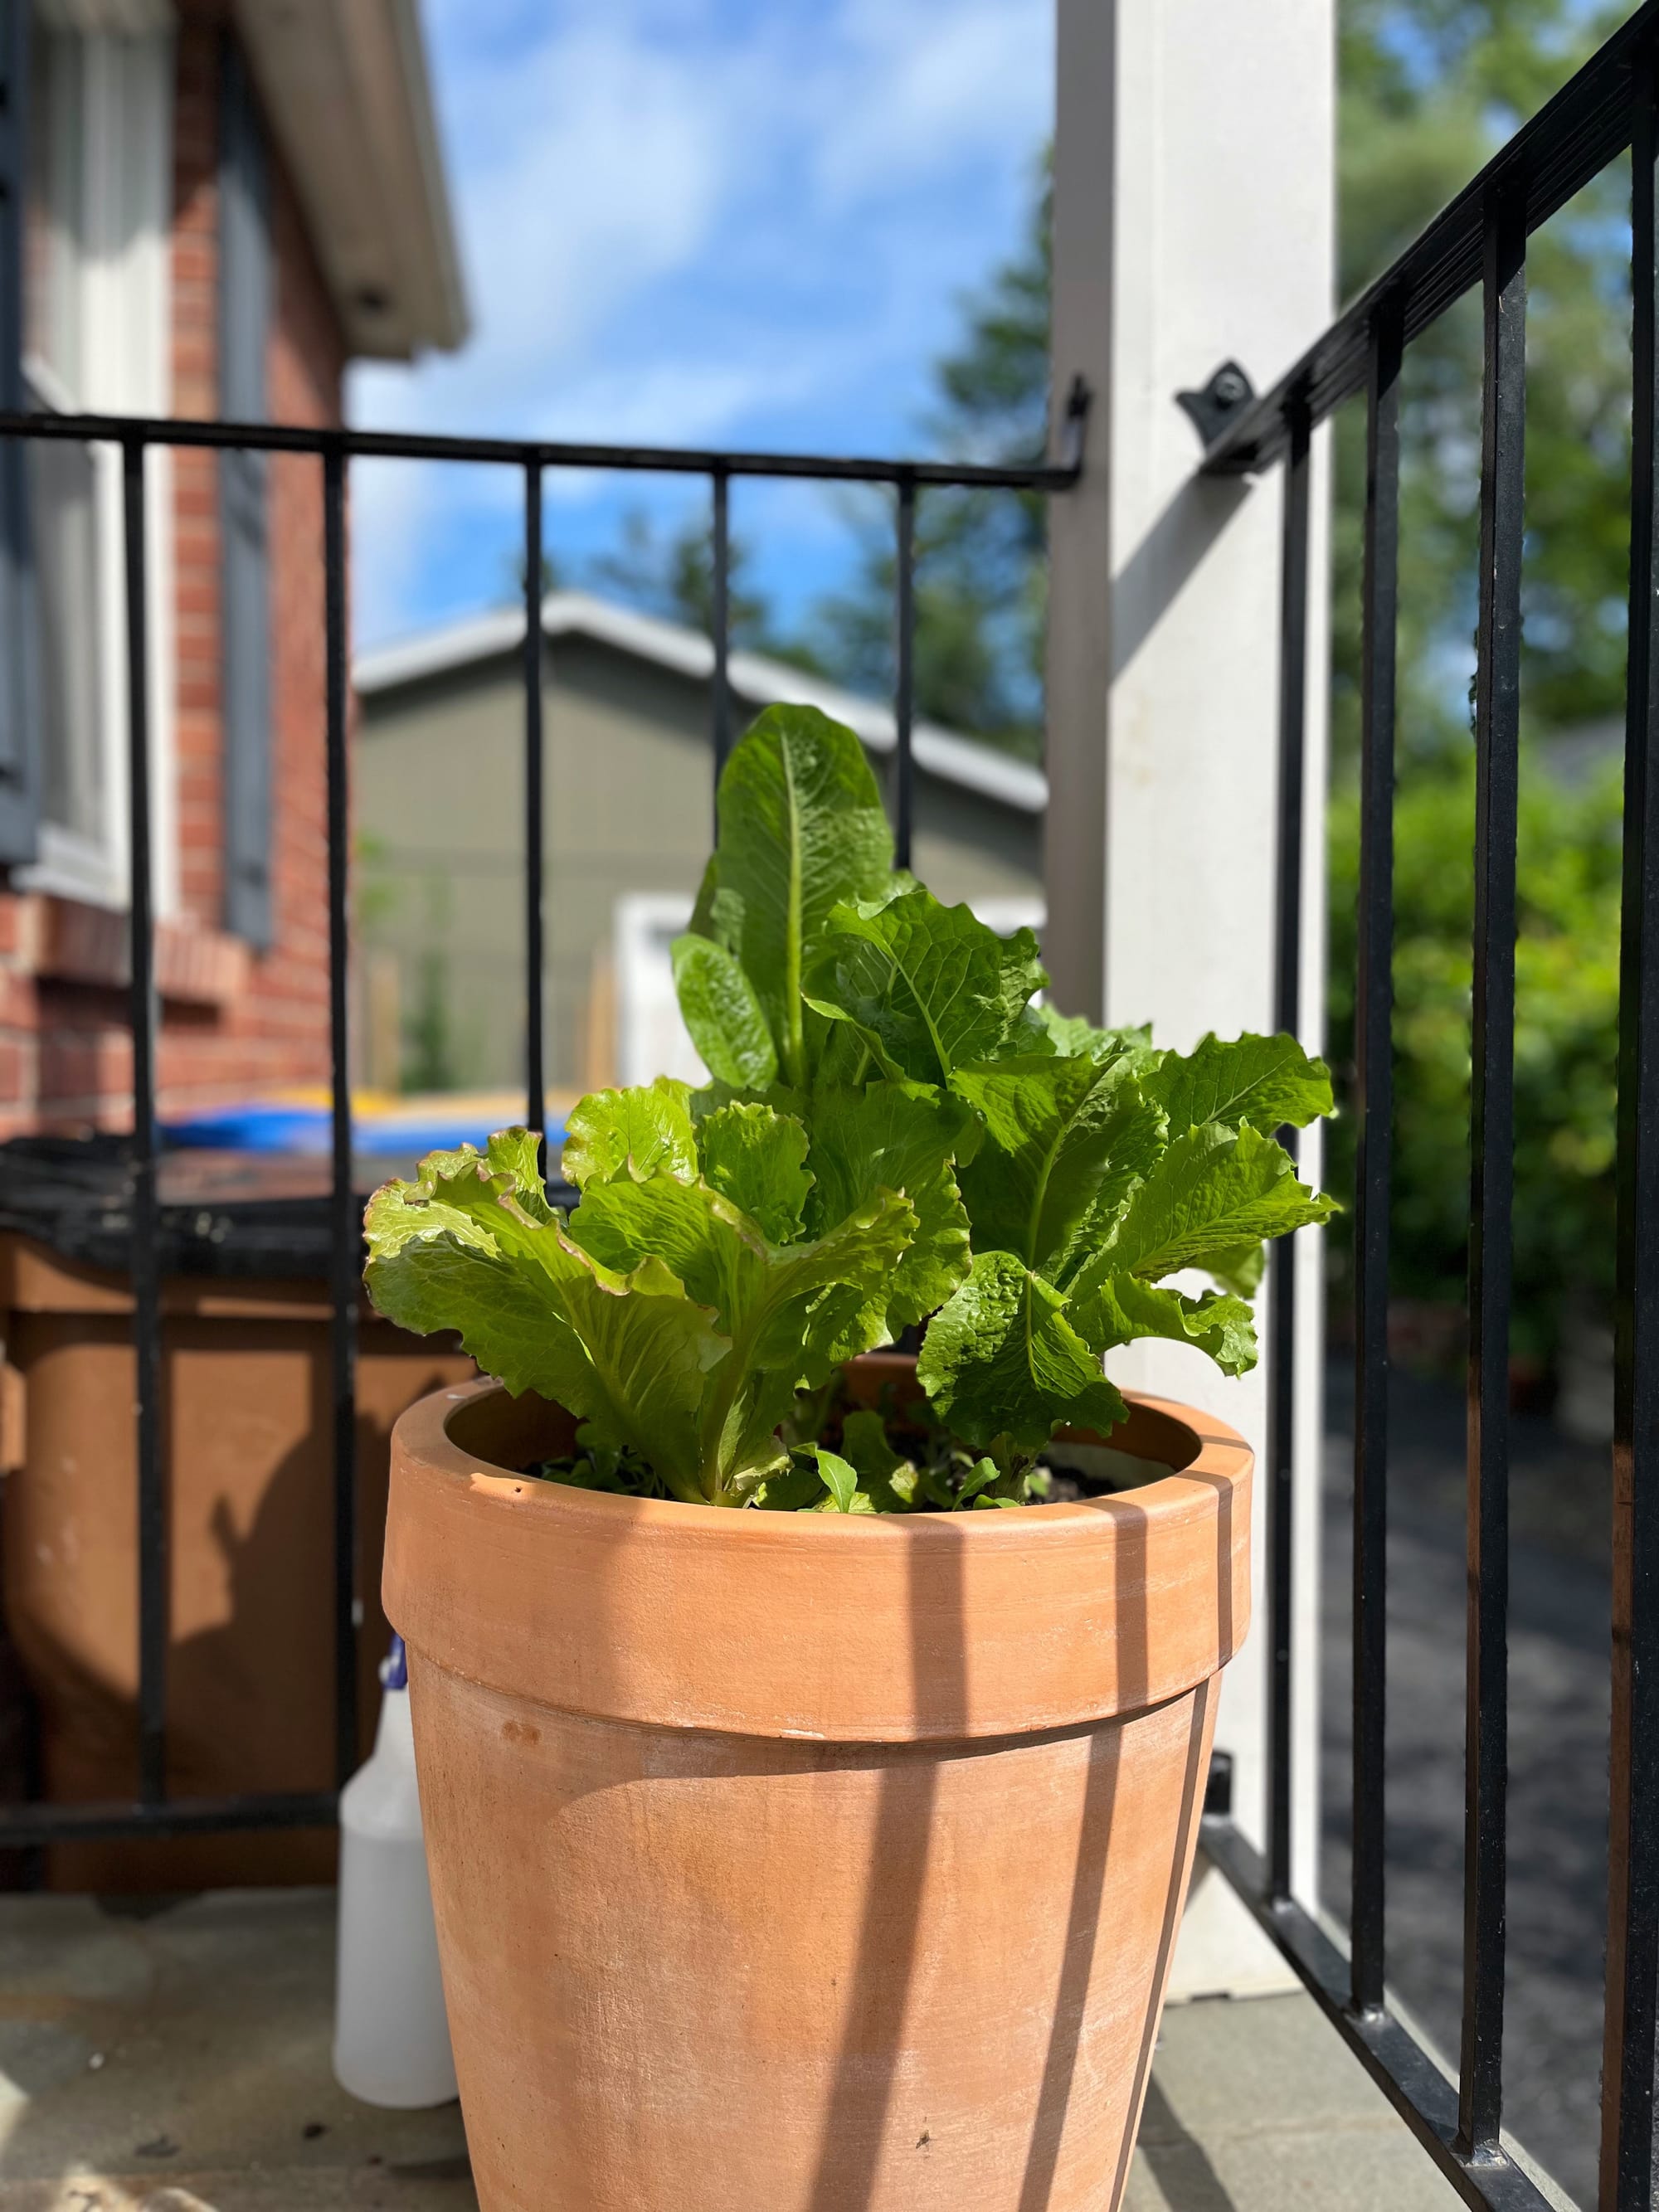
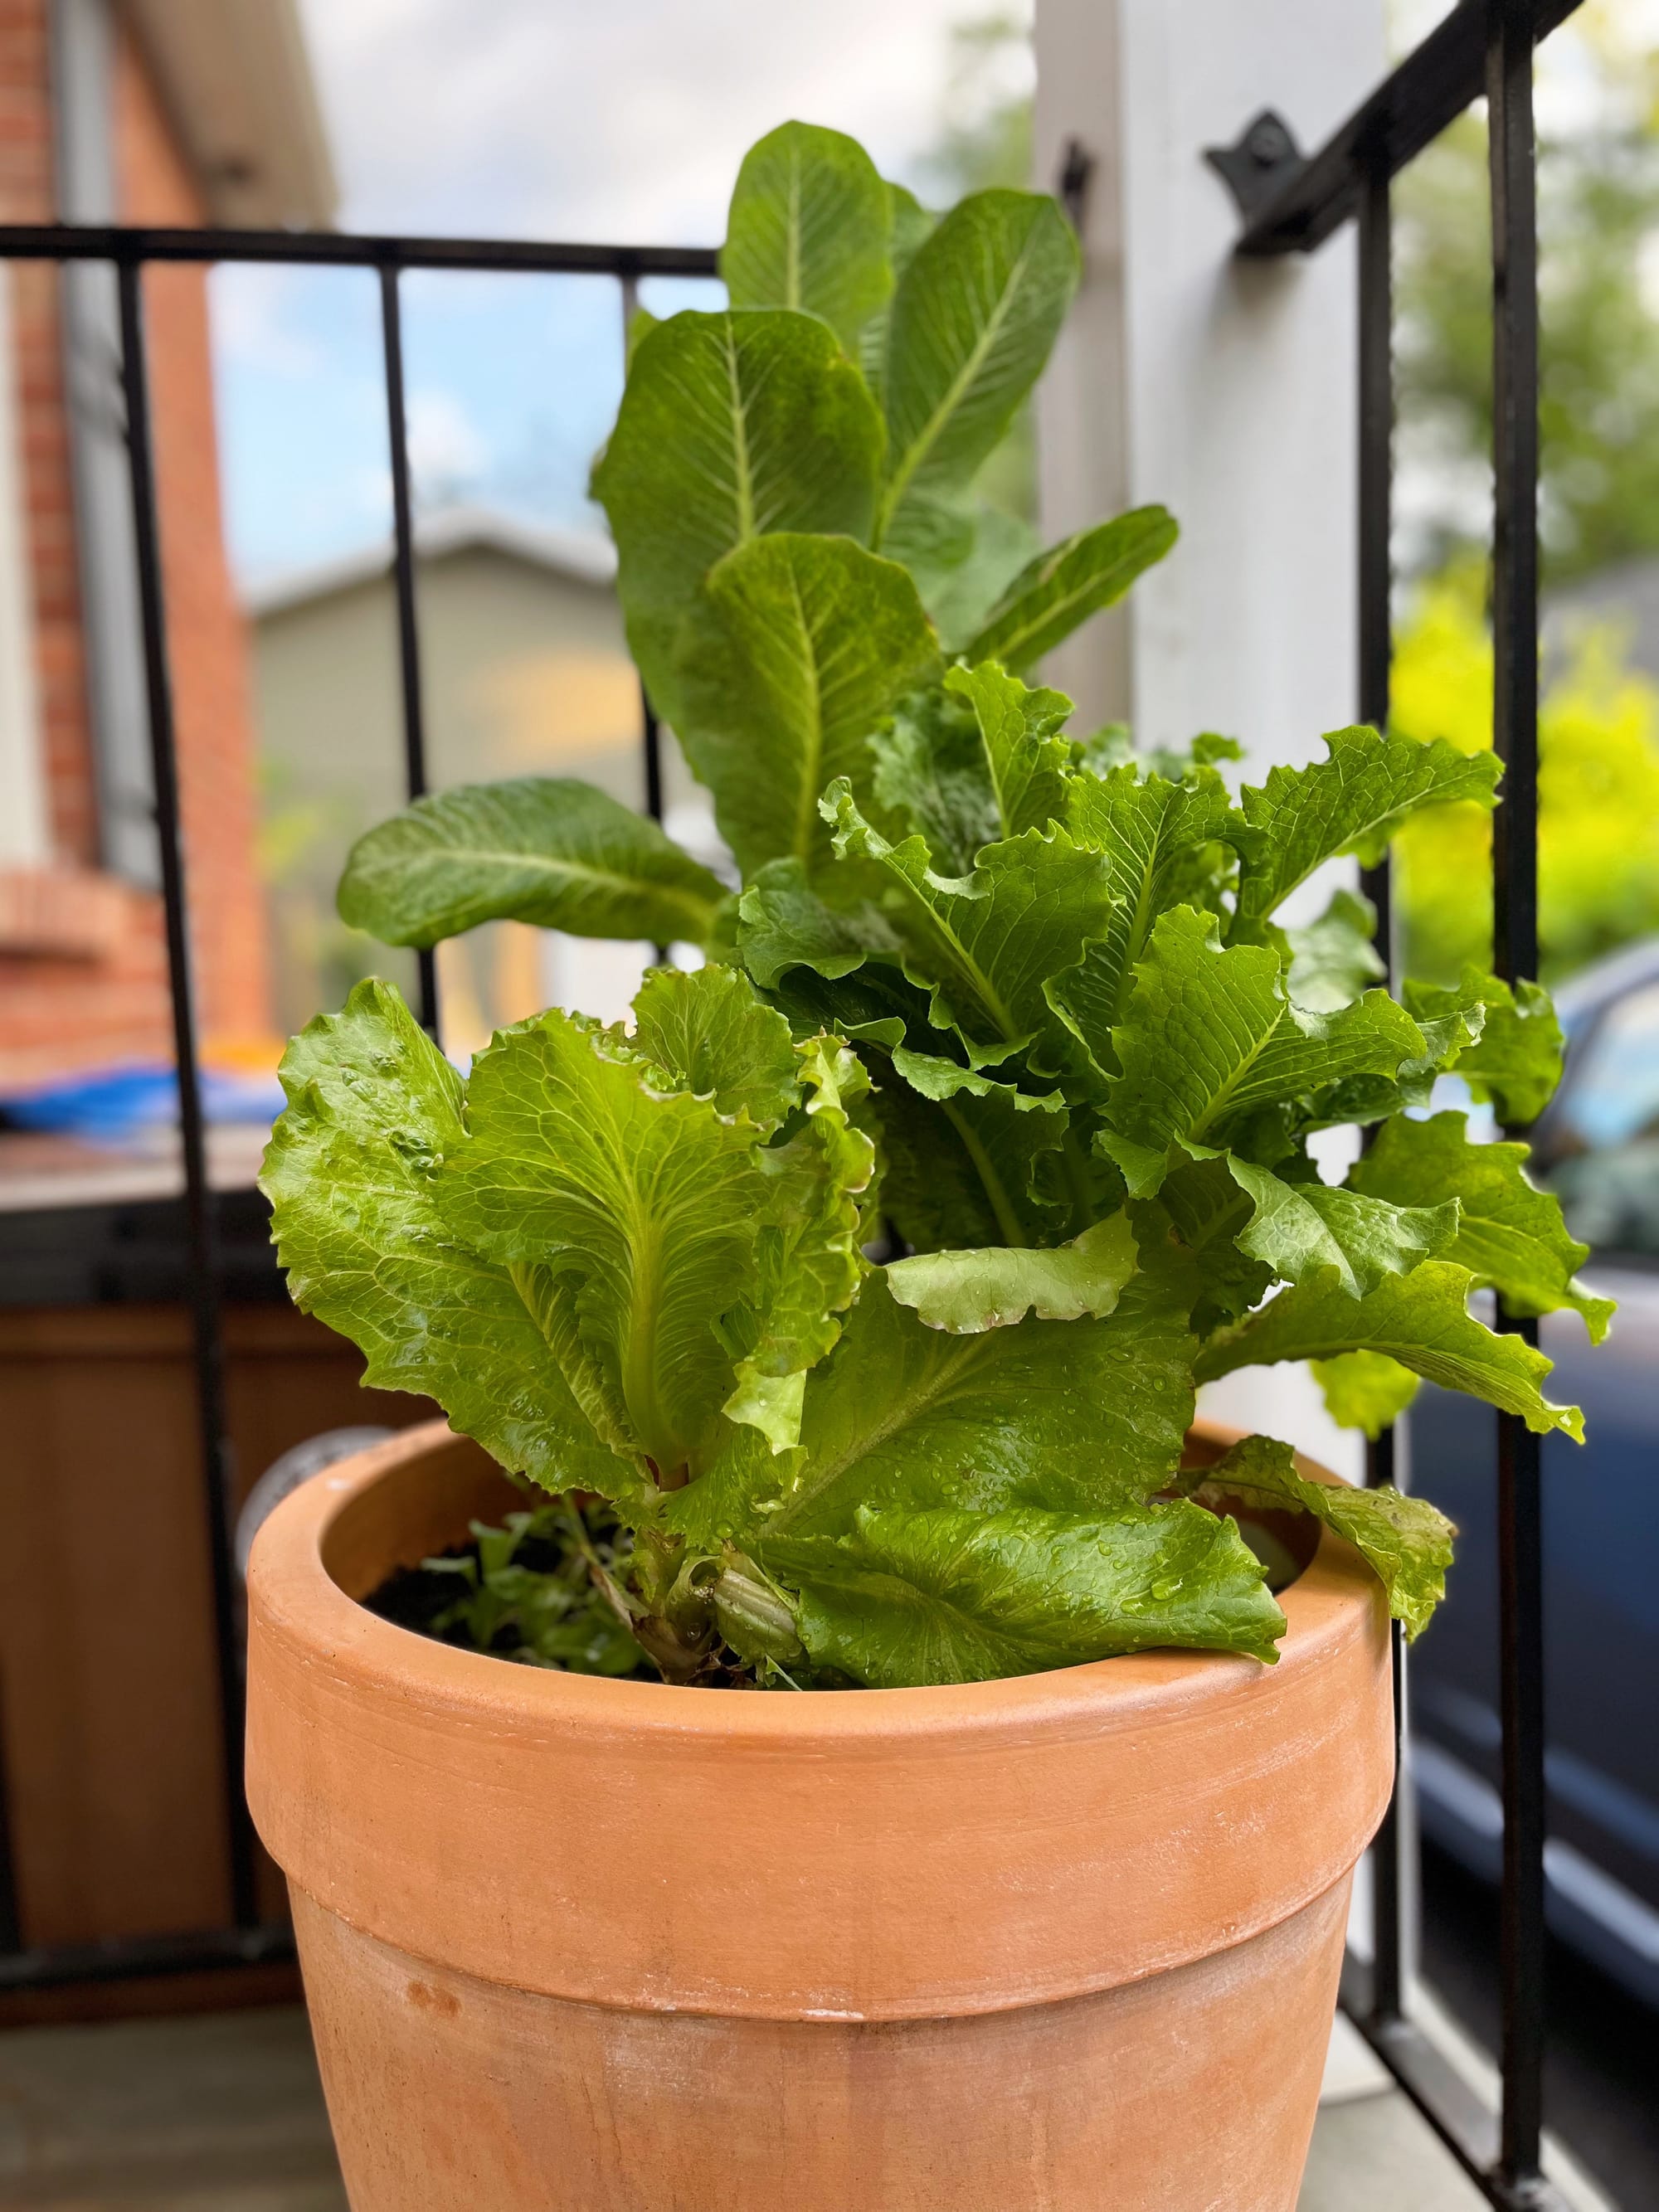
With cut-and-come-again varieties like these, you keep picking from the outside and they keep growing upwards from the center, as you can see in these pics from June and July.
• There is nothing pretty or costly about my current setup: It is a plain old terra cotta pot, filled with a bag of organic potting mix (those are the startup costs), sitting on our steps next to the trash cans. The lettuce doesn’t care if it’s scenic — just provide strong morning sun and (in my experience) afternoon shade, to keep it from bolting too quickly.
• Some of my favorites to grow are your basic arugula; the Salad Bowl blend from Botanical Interests (I’ve had a lot of luck with their seeds over the years, this is not sponsored); Lollo Rossa, Tropicana, Buttercrunch, non-specific red and green leaf lettuces; plus red Russian kale, and kale ‘Winterbor’ is a real workhorse. I also just found this cut-and-come-again mix at Botanical Interests, which would be a great place to start: Simply Salad. About fifteen bucks for a whole season (and another after that) of delicious and nutritious mixed greens. Plus the pot and soil if it’s your first time.
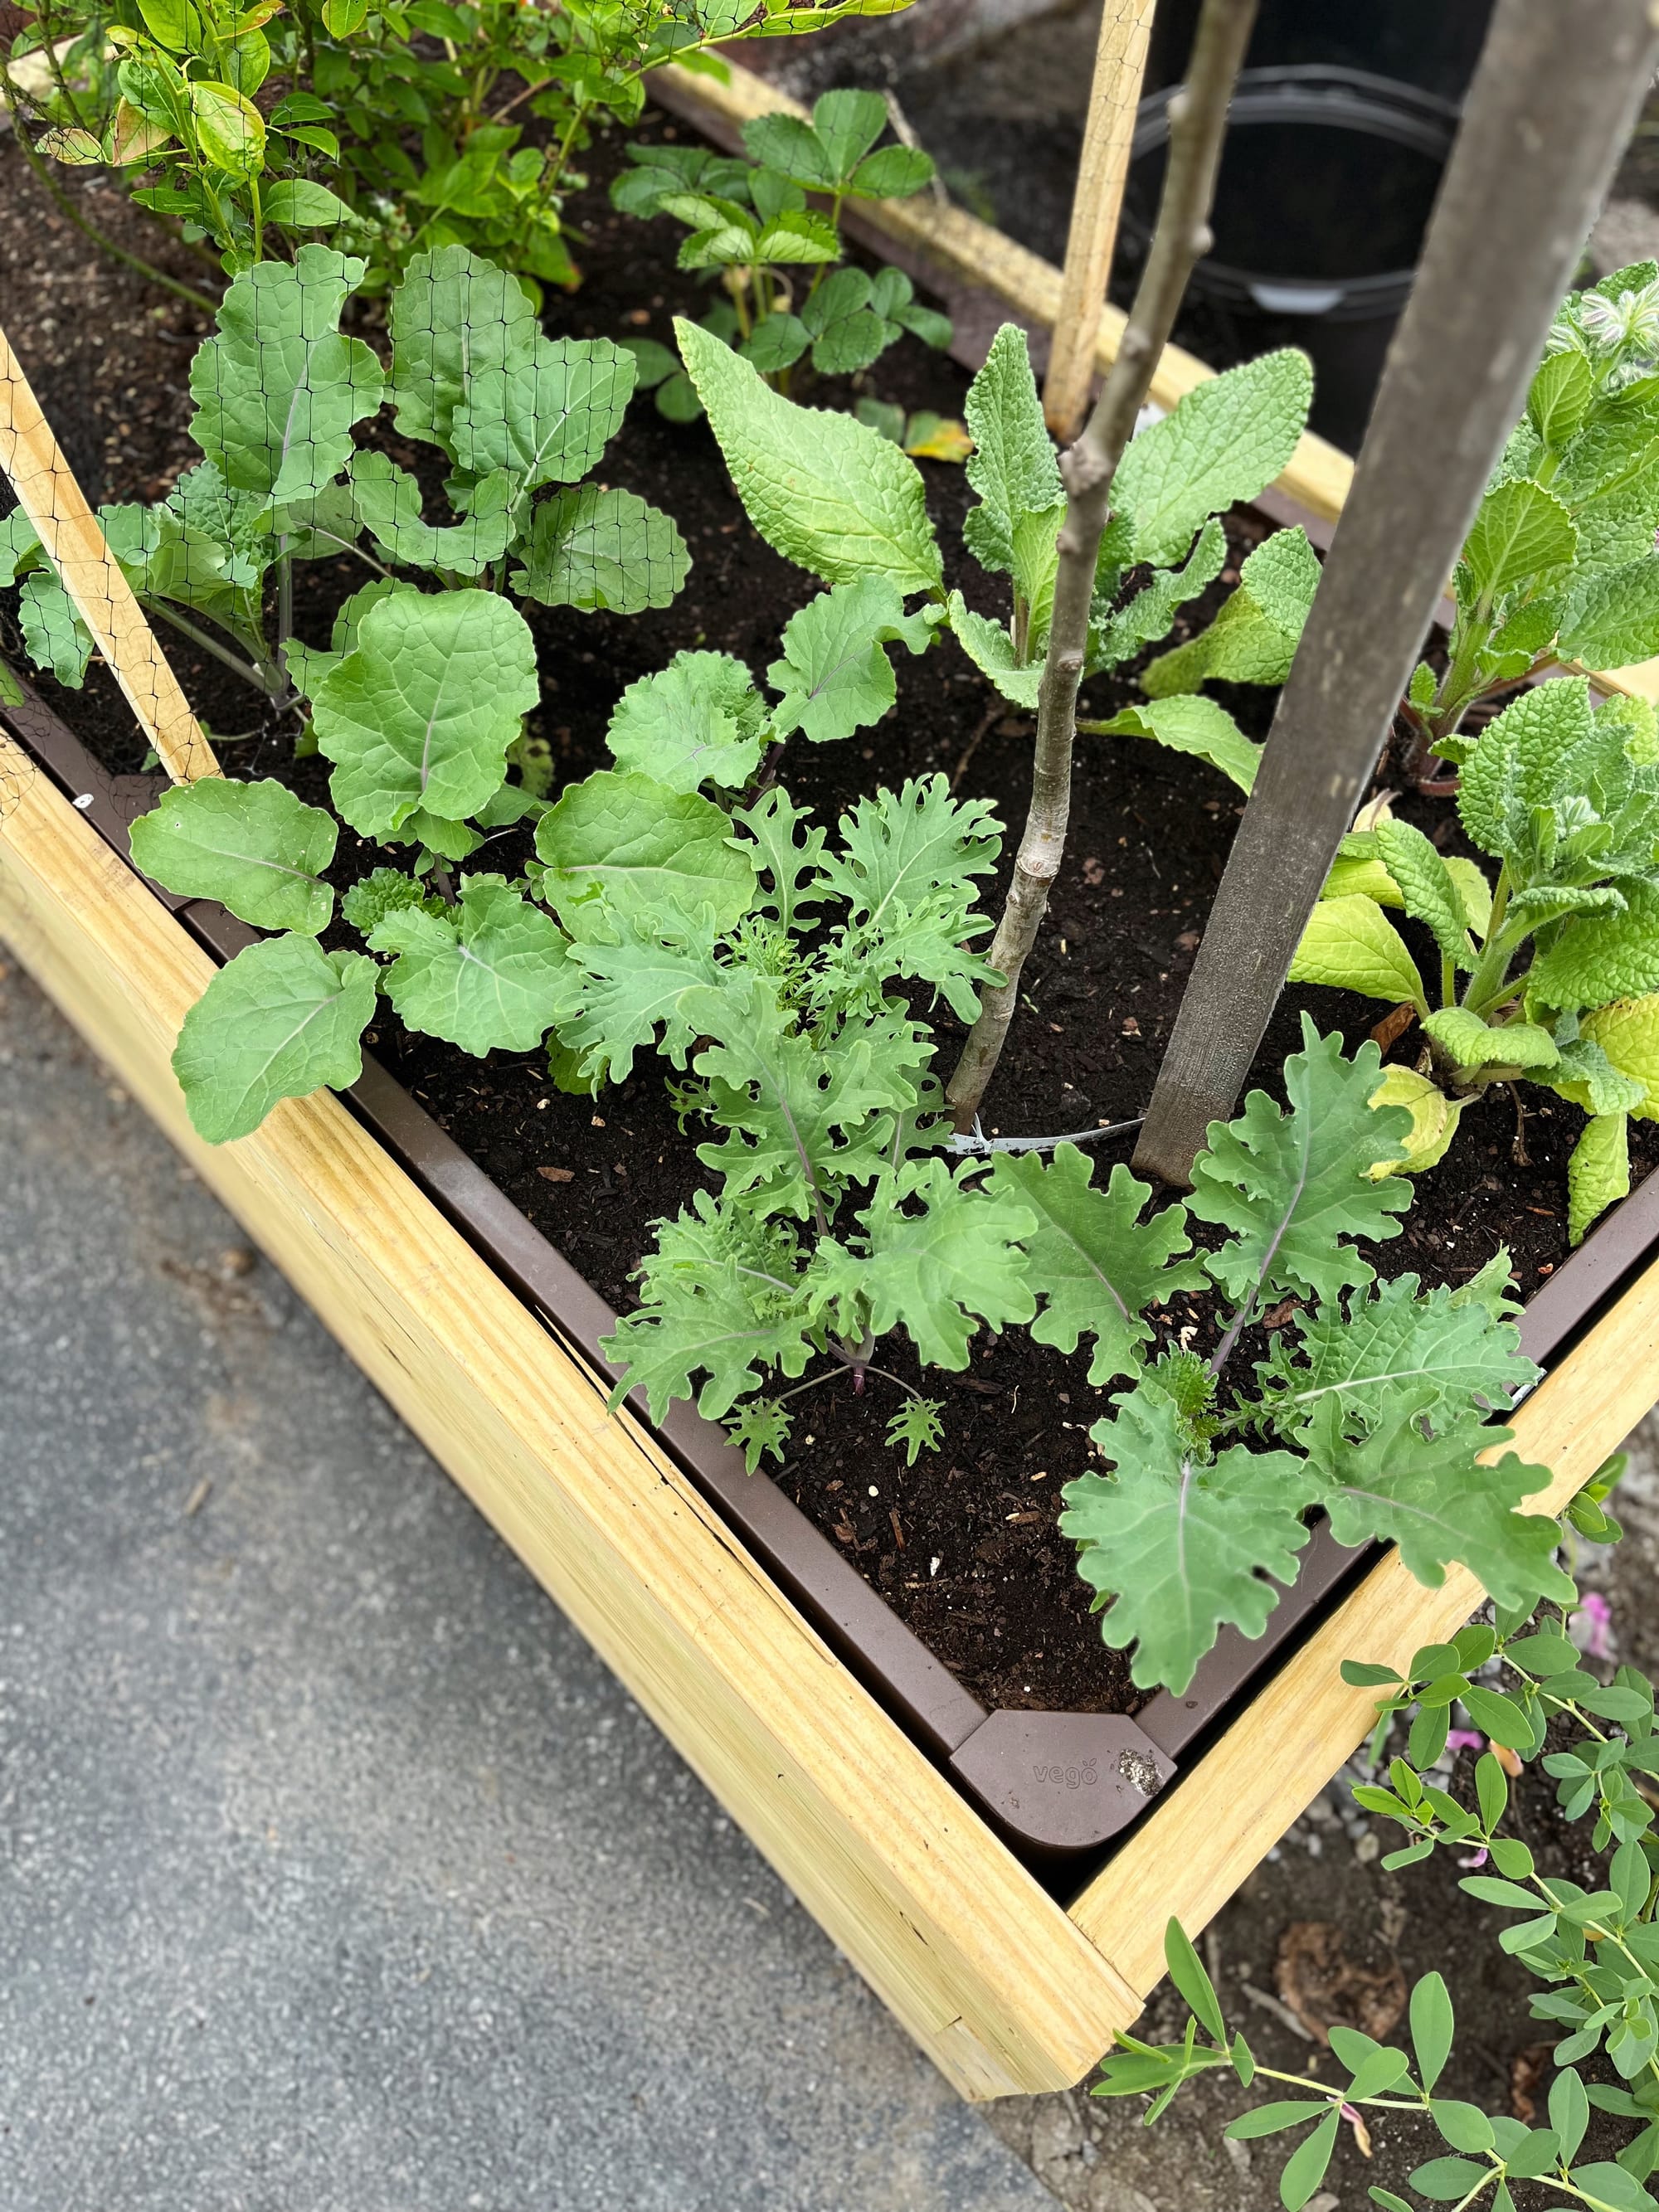
• Kales and spinaches are also fantastic options and hold up to more sun, and arugula can always be seeded in around other stuff, plucked as baby greens and reseeded as needed.
• Starting leafy greens from seed is easy because they germinate and mature quickly. It’s not like growing tomatoes where you need to be concerned about starting seeds early indoors depending on where you live, so you’ll have enough time for them to reach maturity. You can start them anytime during the growing season, once or repeatedly (i.e., in succession). Although if you’re sowing in the hotter months, look for varieties that are more heat-tolerant, like Tropicana, and keep them shaded while they find their feet.
• A general rule of thumb for starting seeds is to only place them as deep in dirt as they are big, and most seeds for leafy greens are teeny tiny. So just drop a few seeds onto good dirt, sprinkle a tiny bit more dirt over the top of them (or don’t), and dampen them regularly until they germinate in a few days and start to root. If you wind up with multiple seeds that germinate close together, snip some of the off at the surface level to give the remaining ones room to grow. (A good seed packet will tell you what to do.)
• A caveat: here in NY, I have placed chicken wire over the top of my pots to keep the squirrels from digging in them until the plants are well rooted and harder to disturb.
The most important advice: don’t overthink it! You’ll figure it out with trial and error. Just start simple, with a few heads of lettuce, and see how it goes. My initial three heads for this year have grown so much vertically at this point (on their way to bolting), it’s time for me to seed between them and start some new ones. And I’m eager to see how long I can keep some hardier varieties going in that pot on my covered steps into the cooler season.
Give it a go, seriously. Trying is fun! Learning is fun! Greens are delicious! It might not go perfectly as first, but I believe in you, and I believe in homegrown lettuce for as long as the weather allows. So let me know if I can offer any other advice or encouragement.
This post is free to non-subscribers. If you find it valuable and are inclined to leave a buck in the tip jar, I’d be grateful!