Hot Tip: ‘Potting up’ as crop succession
Or, how to transplant plants with the least root disruption.


I’ve been getting the rest of my seedlings into dirt over the past few days, and am exceedingly happy with how much food I’ve managed to pack into this year’s makeshift/containerized driveway potager after all. Given that I have a lot going on out there and a different kitchen-garden plan for next year, I’m trying to work with the pots I have at the moment rather than expand my collection, and it’s created a tiny crop-rotation conundrum. The solution is a potting trick as old as time, which I’ve just recently been reminded of, and this turned out to be the perfect scenario for it.
Here’s the situation, briefly: When I was gardening in CA and FL, crop rotation wasn’t an issue because I was growing vegetables year-round. In CA in particular, I could grow tomatoes (or other nightshades) wherever during the warm part of the year, then swap those out for nitrogen-fixing peas or beans for the cool season. For extra good measure, I would also shift around which corners of which beds I planted the tomatoes in, which is basically what I did in my single raised bed in FL. So I never had to worry about developing soil or pest problems from planting tomatoes in the same spot repeatedly.
In Upstate New York though, there’s just the one growing season, and I had tomato plants in three soft pots last year that I need again this year. In two of them, I was able to sow field pea cover-crop seed that germinated quickly and raised the nitrogen in the soil before the first hard frost killed it off. The third pot, though, held a Sungold cherry-tomato plant that was going strong and I left it until the frost got it, at which point it was too late for the cover crop. This is the pot I sowed fava seeds into in March, with little expectation that they would germinate, much less bloom, which they have! So they’re still in the pot, and I need it for this summer’s pepper plant seedling. Not knowing how long the favas will need the soft pot, and wanting to give the pepper room to grow in the interim, here’s what I did:
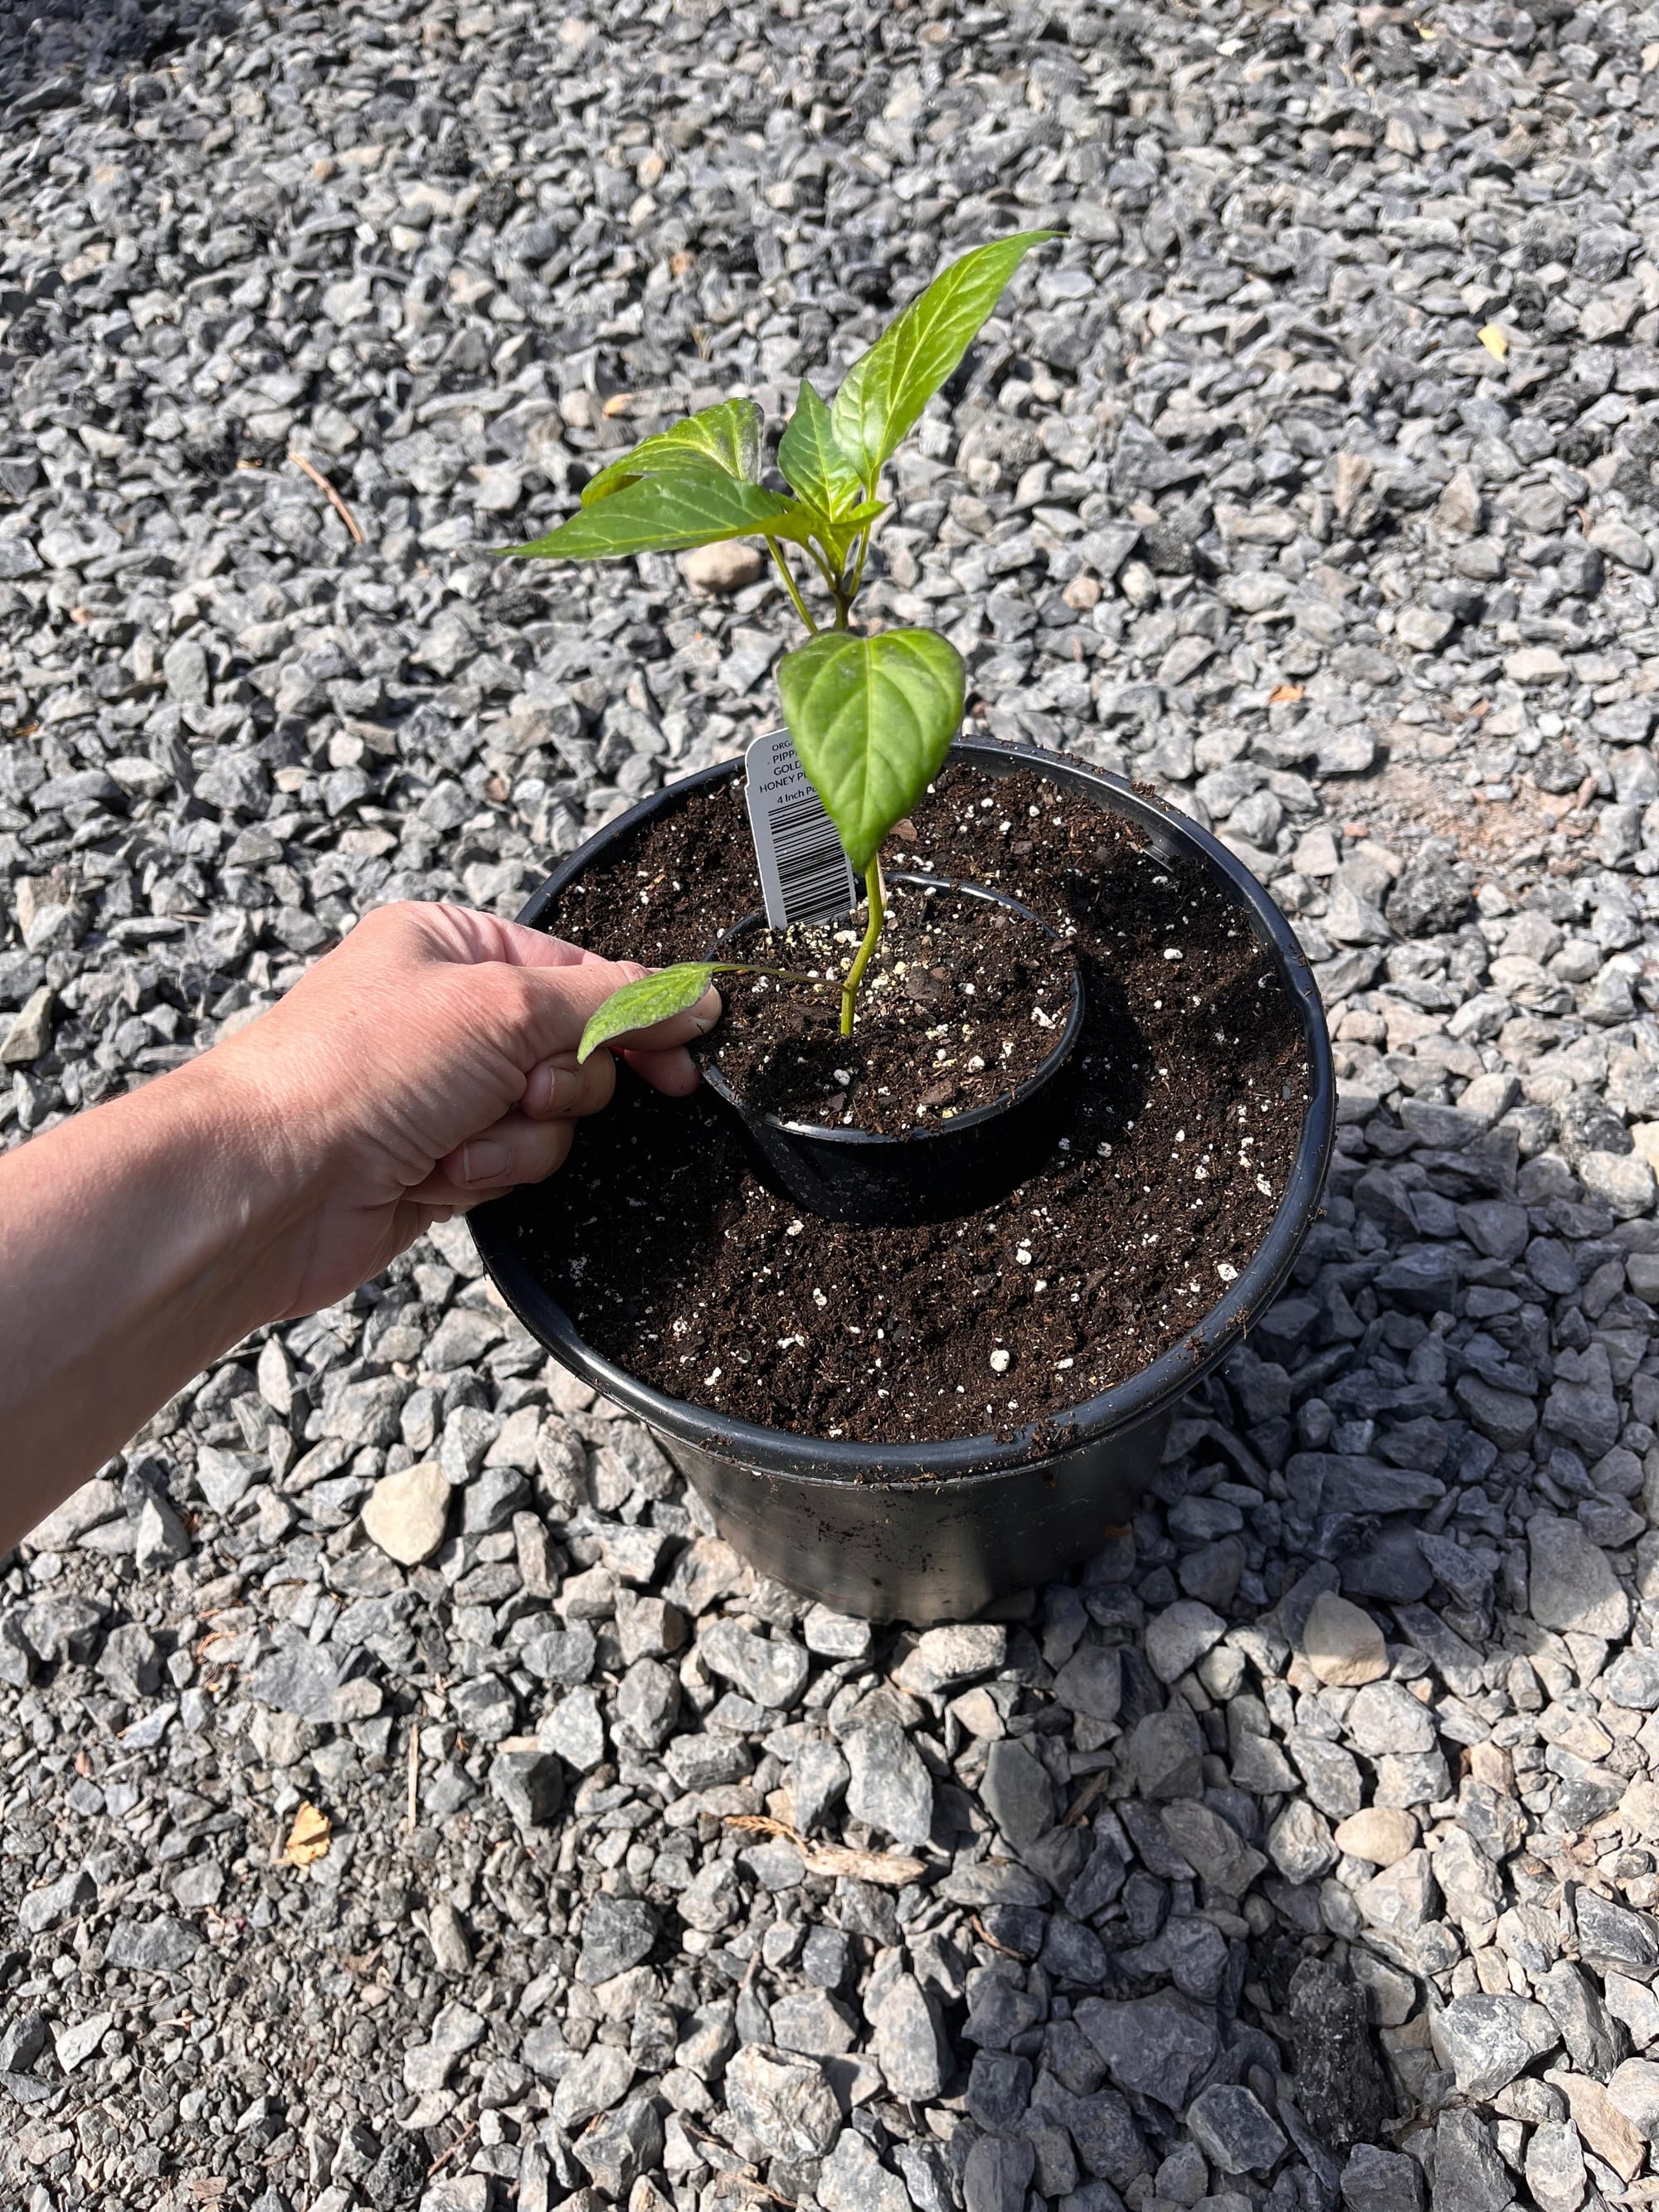
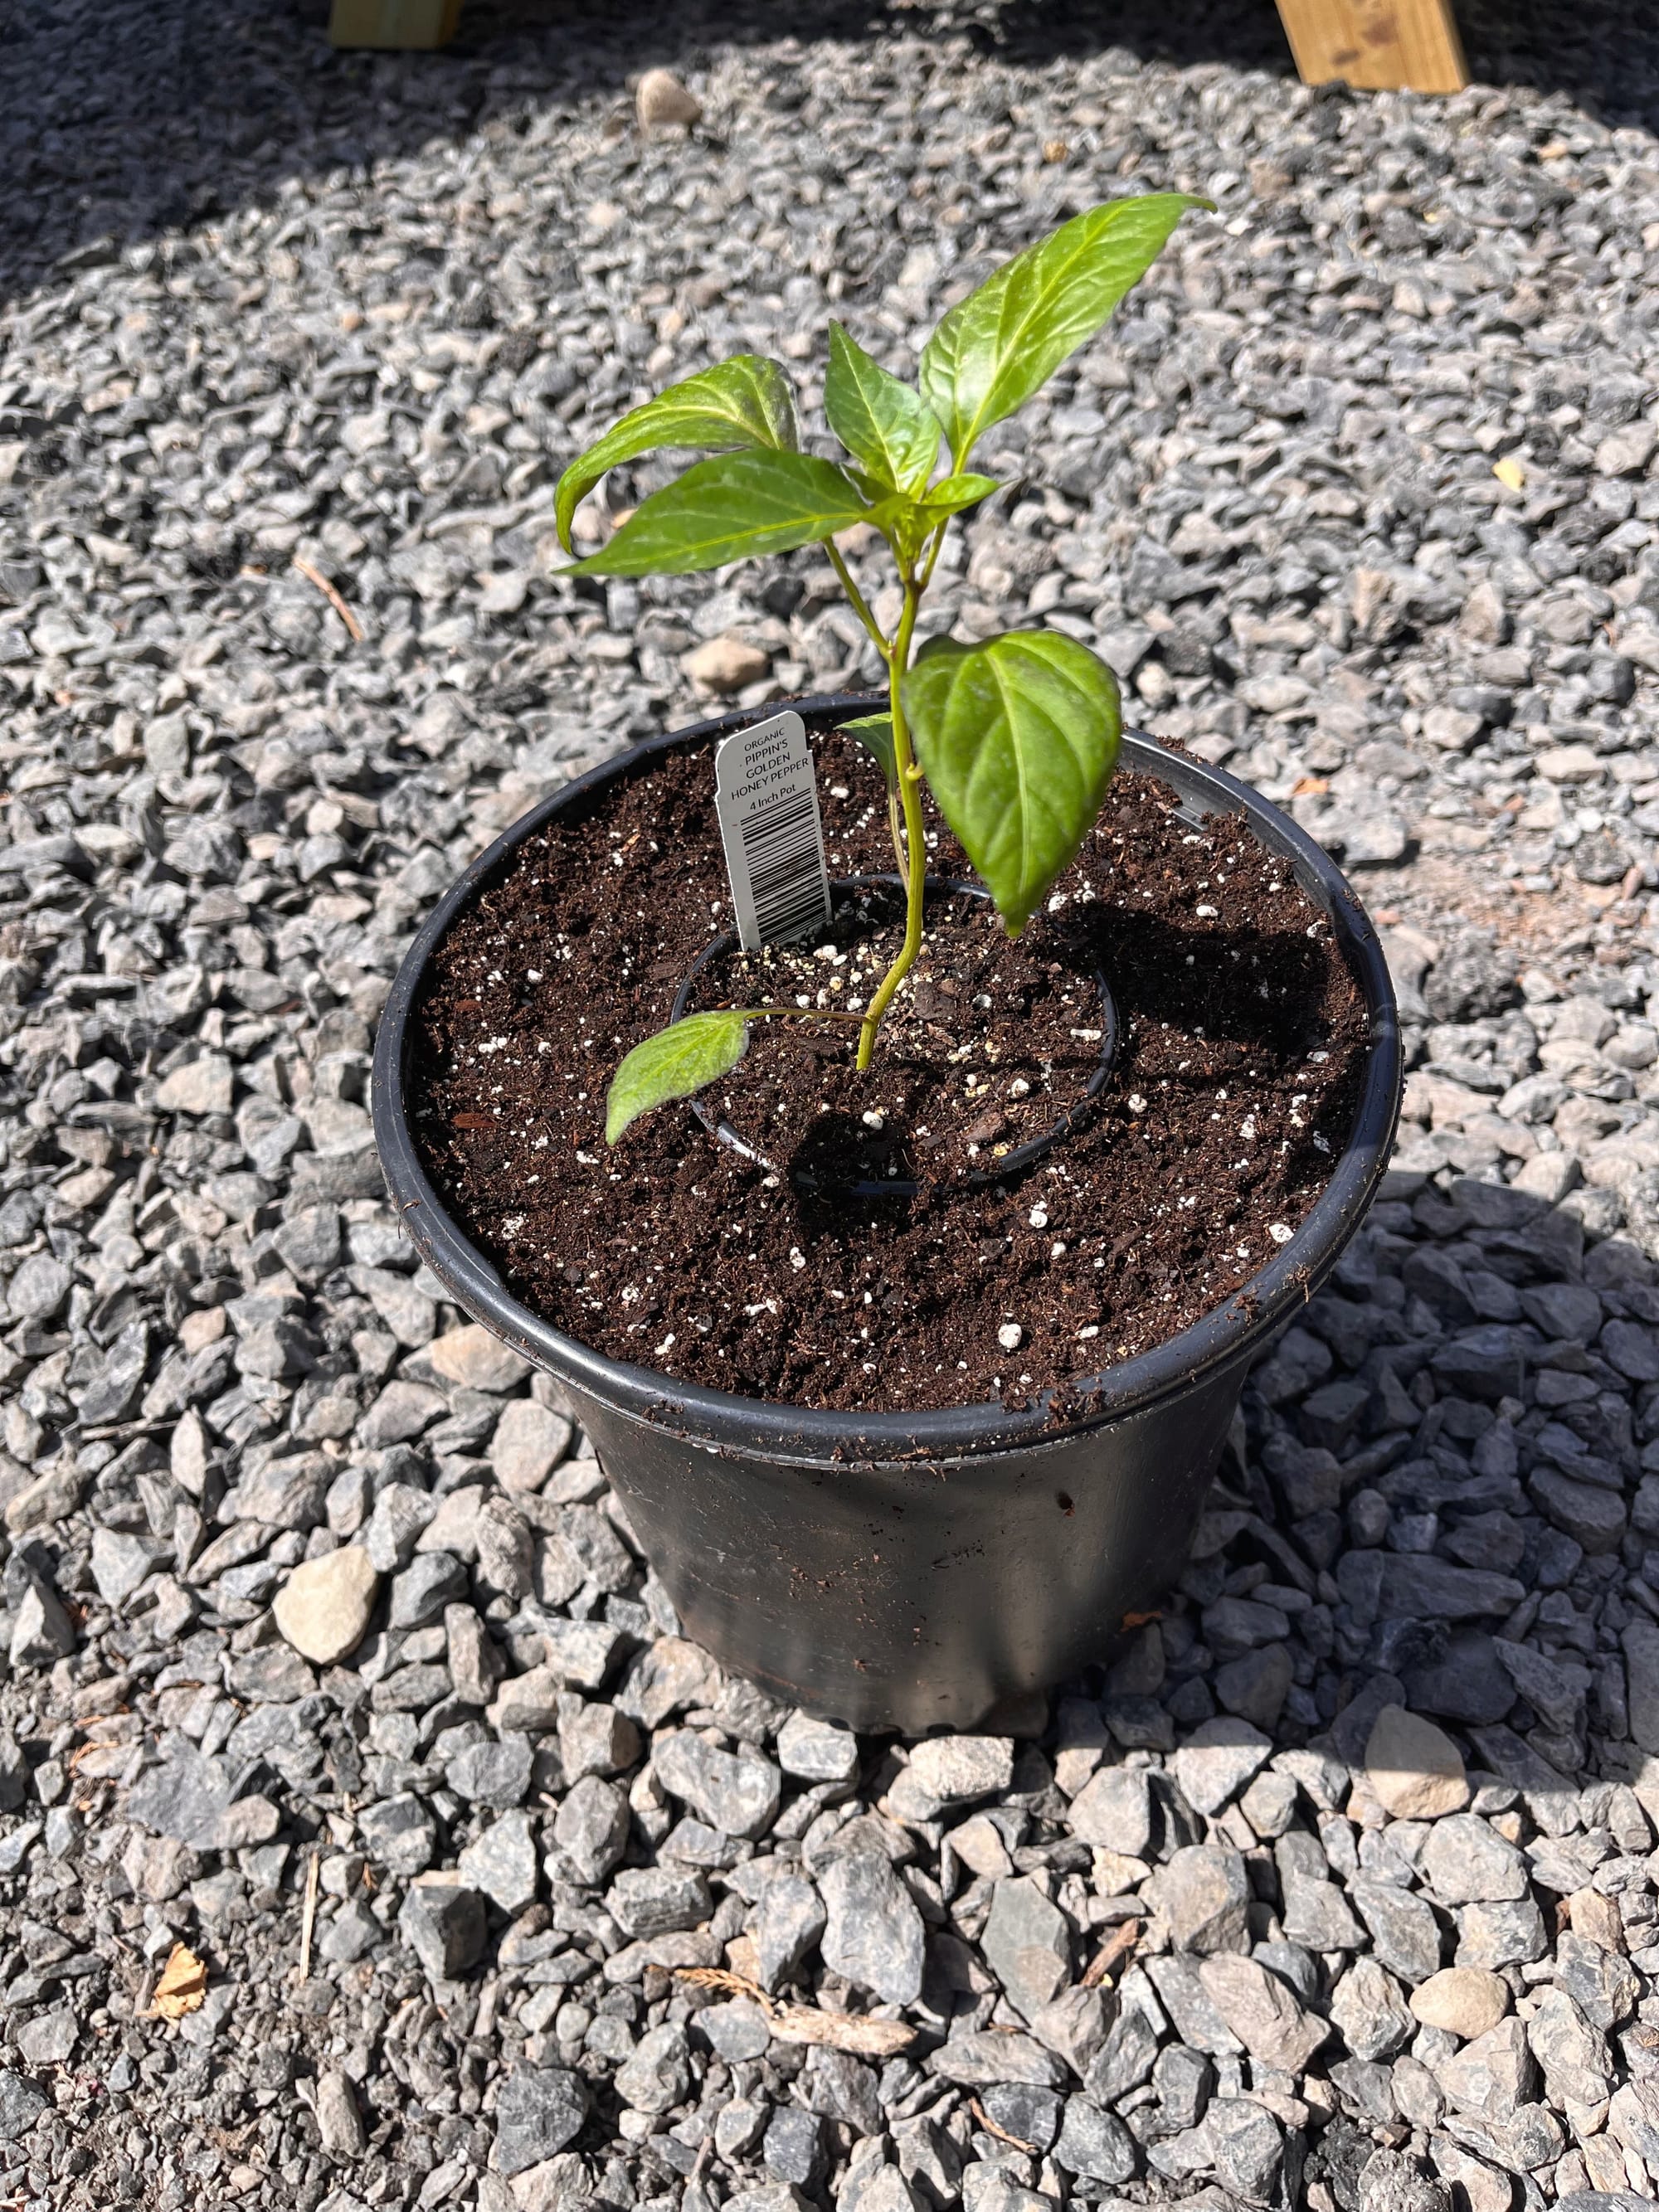
Step 1: Fill a larger pot with good soil, set the seedling down in it — still in its pot — and pack the soil in around it.
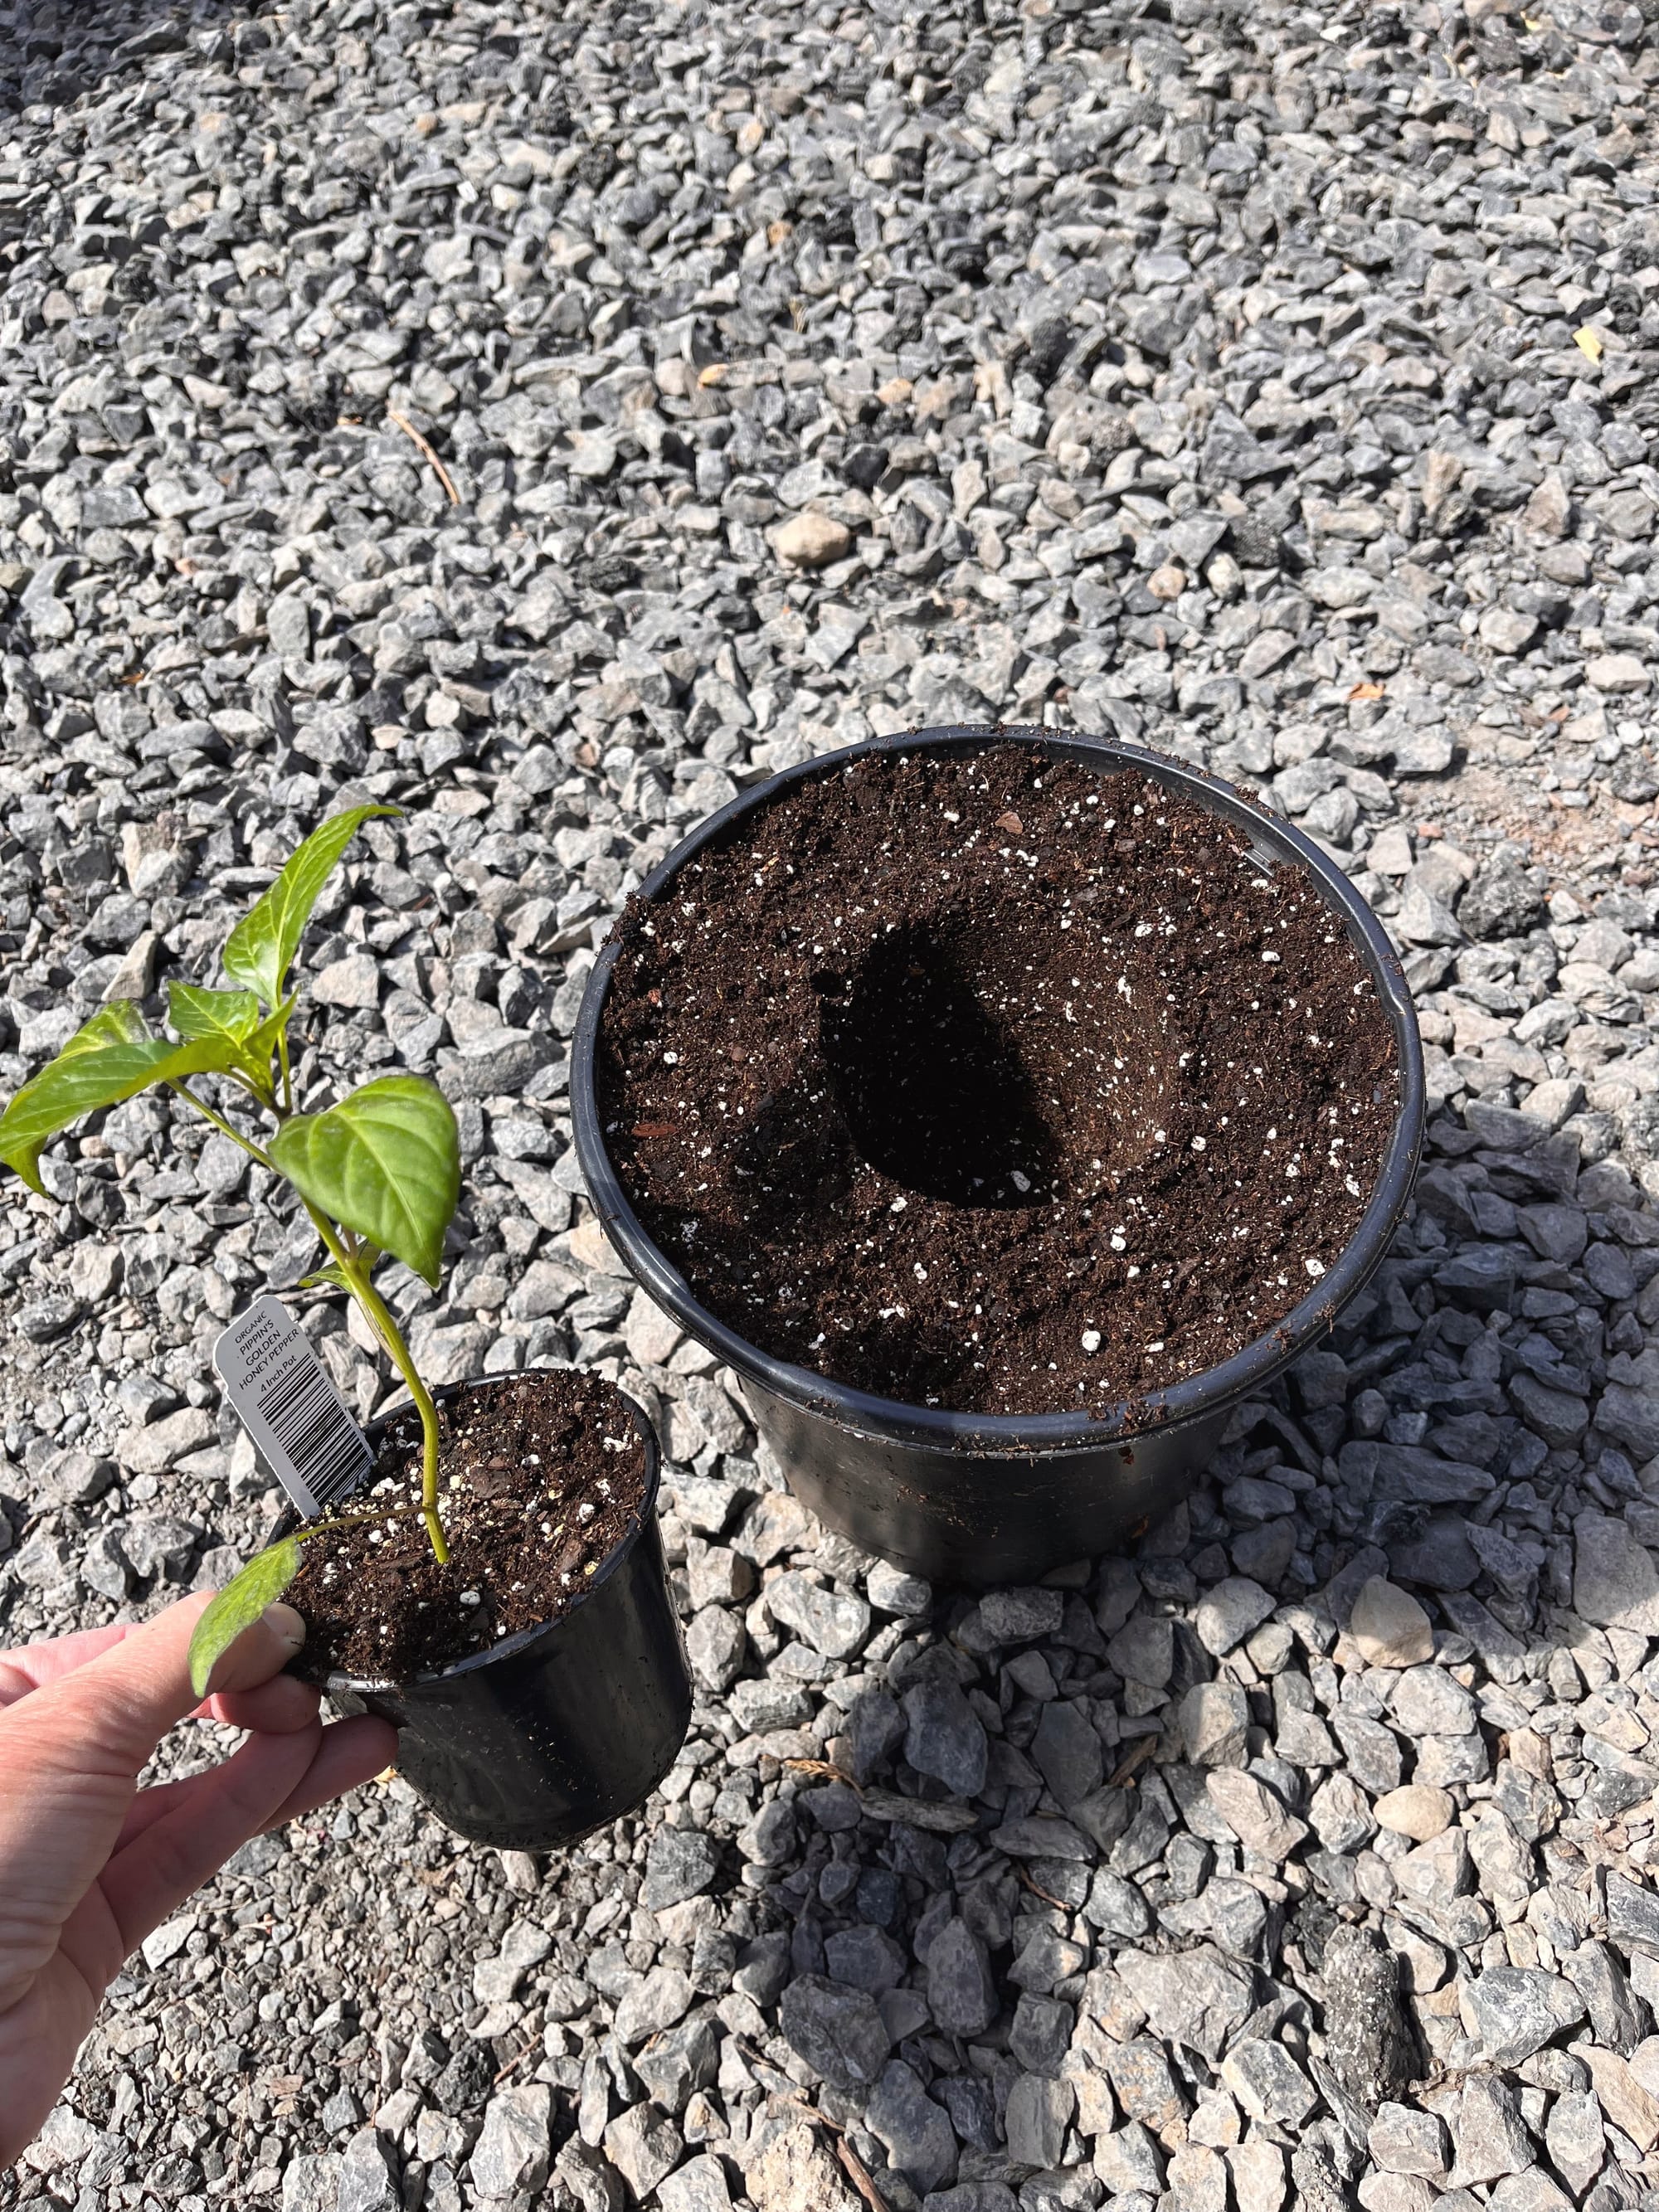
Step 2: Lift the small pot out of the mold you’ve made for it.
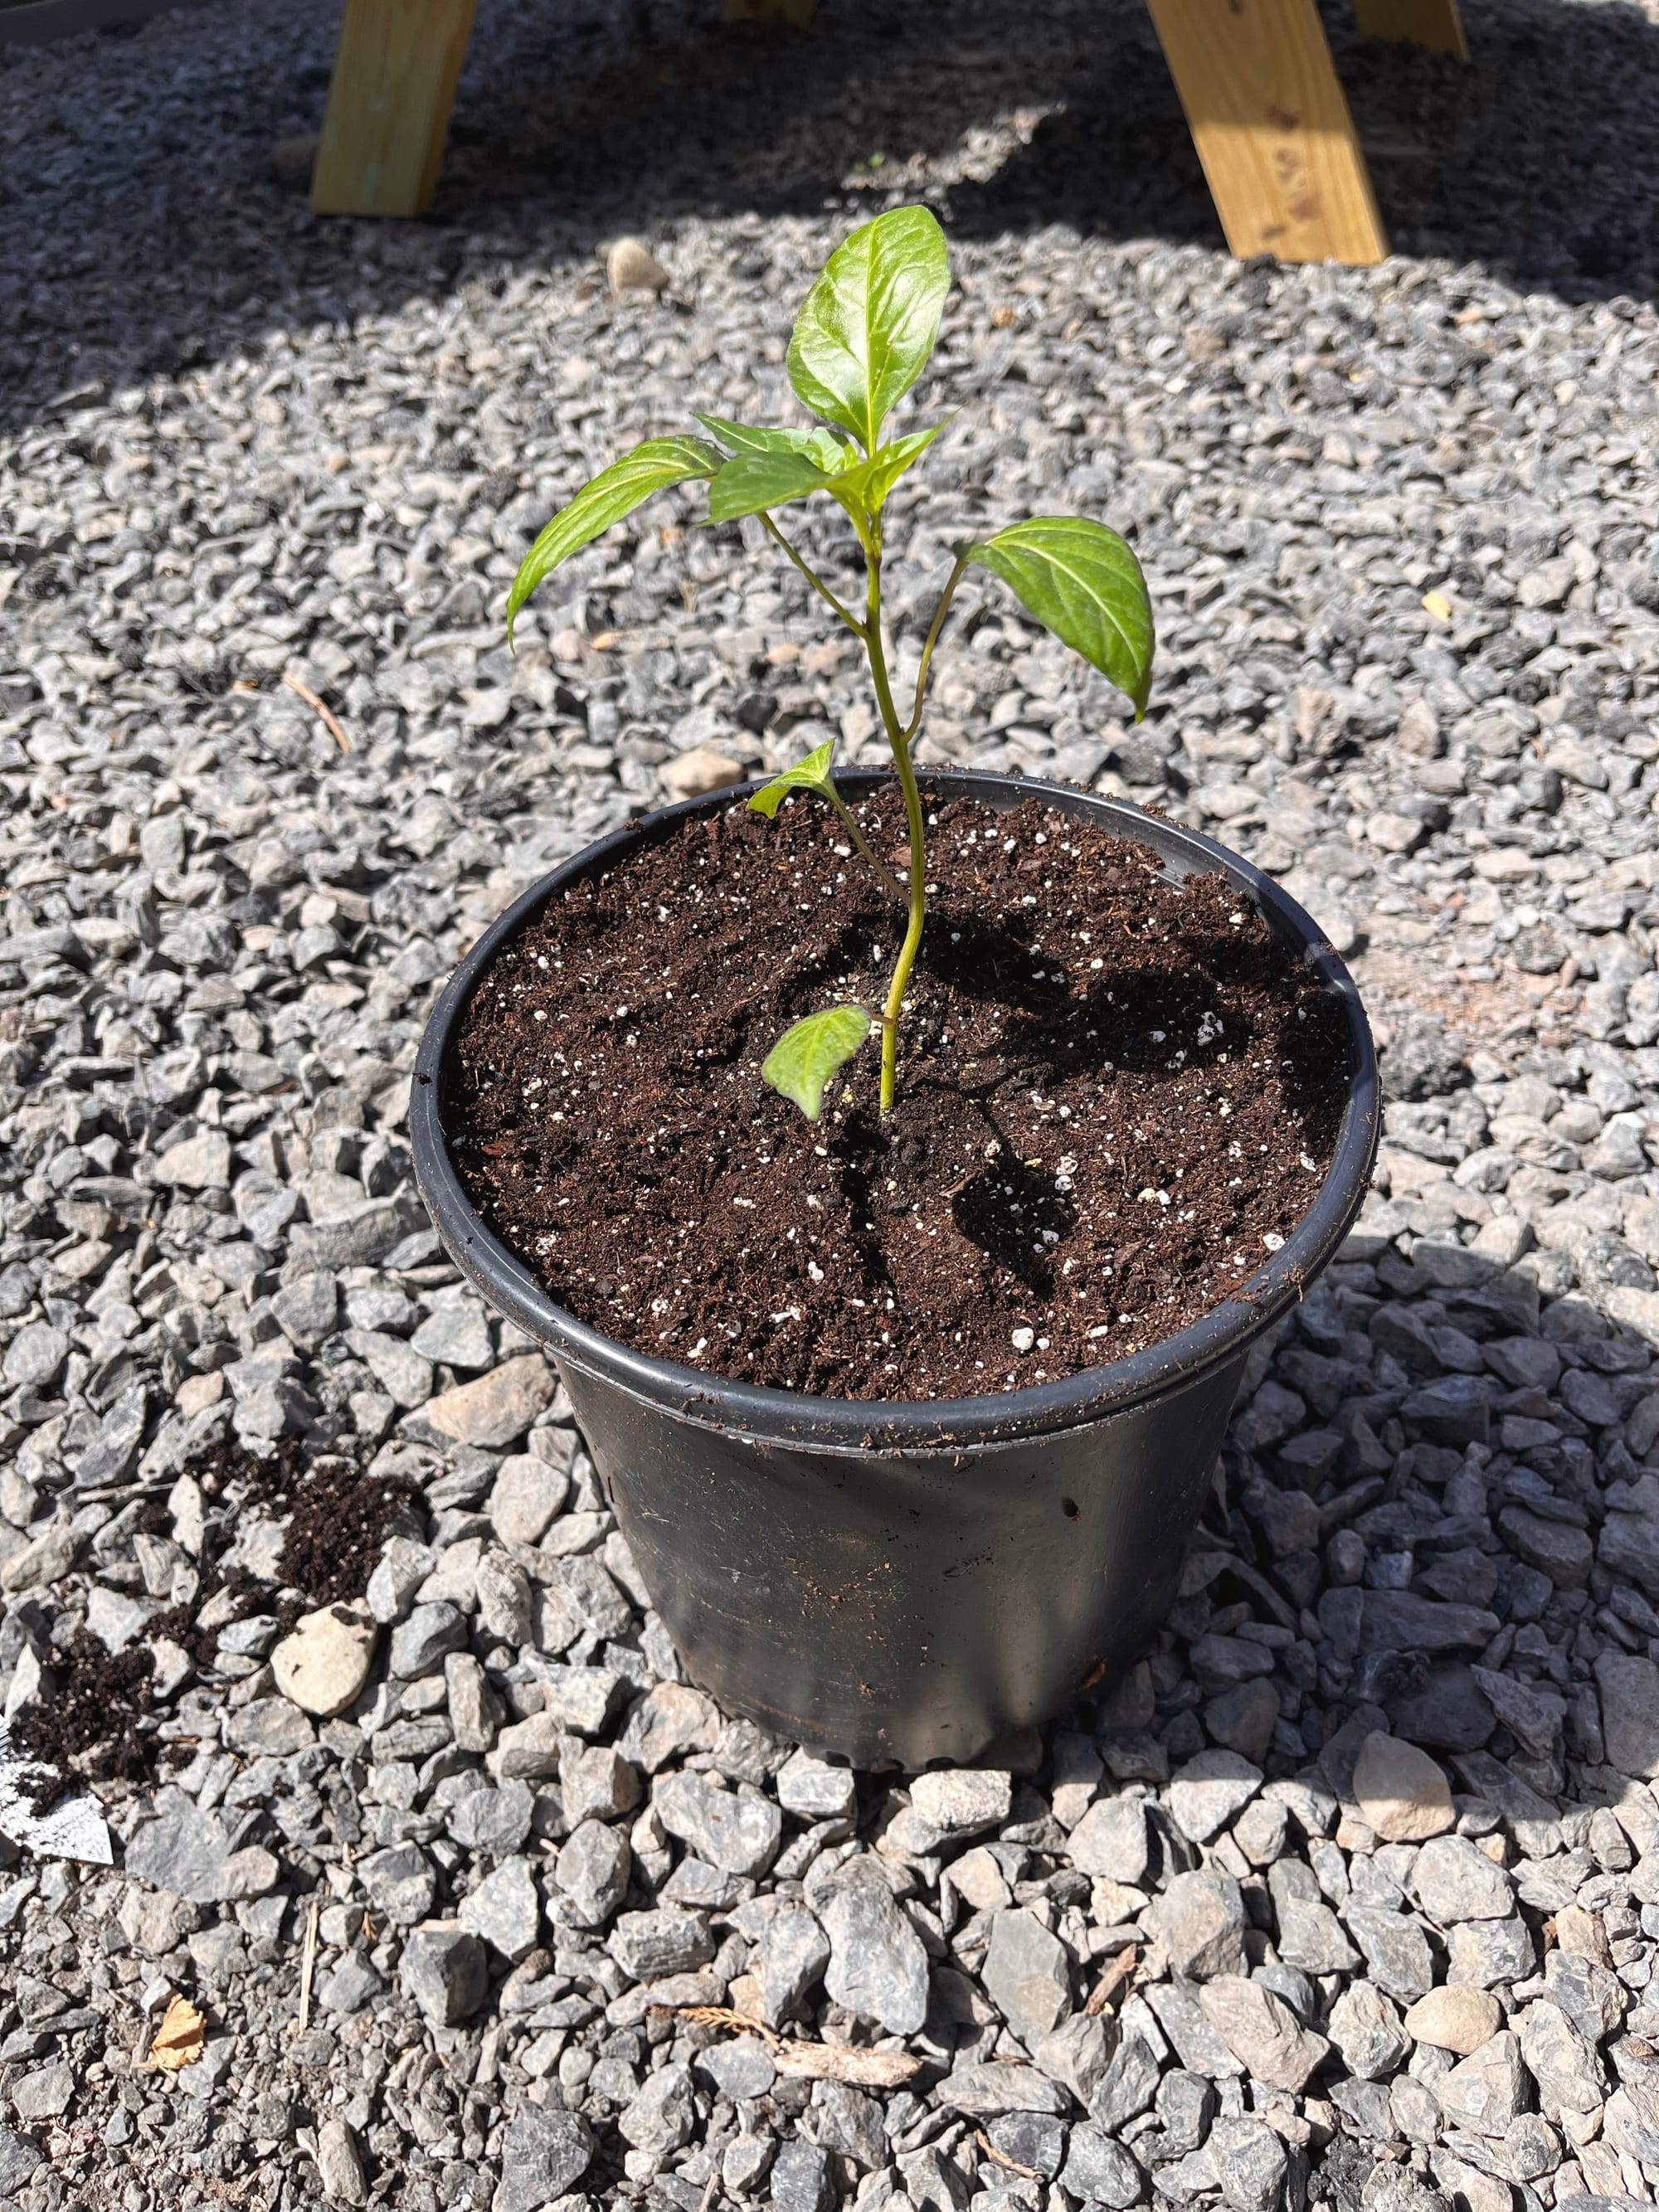
Step 3: Gently tip the plant out of its pot into your hand, being careful to keep it intact — no root disturbance is the goal here — then gently drop it into the mold and press the soil together. And voila!
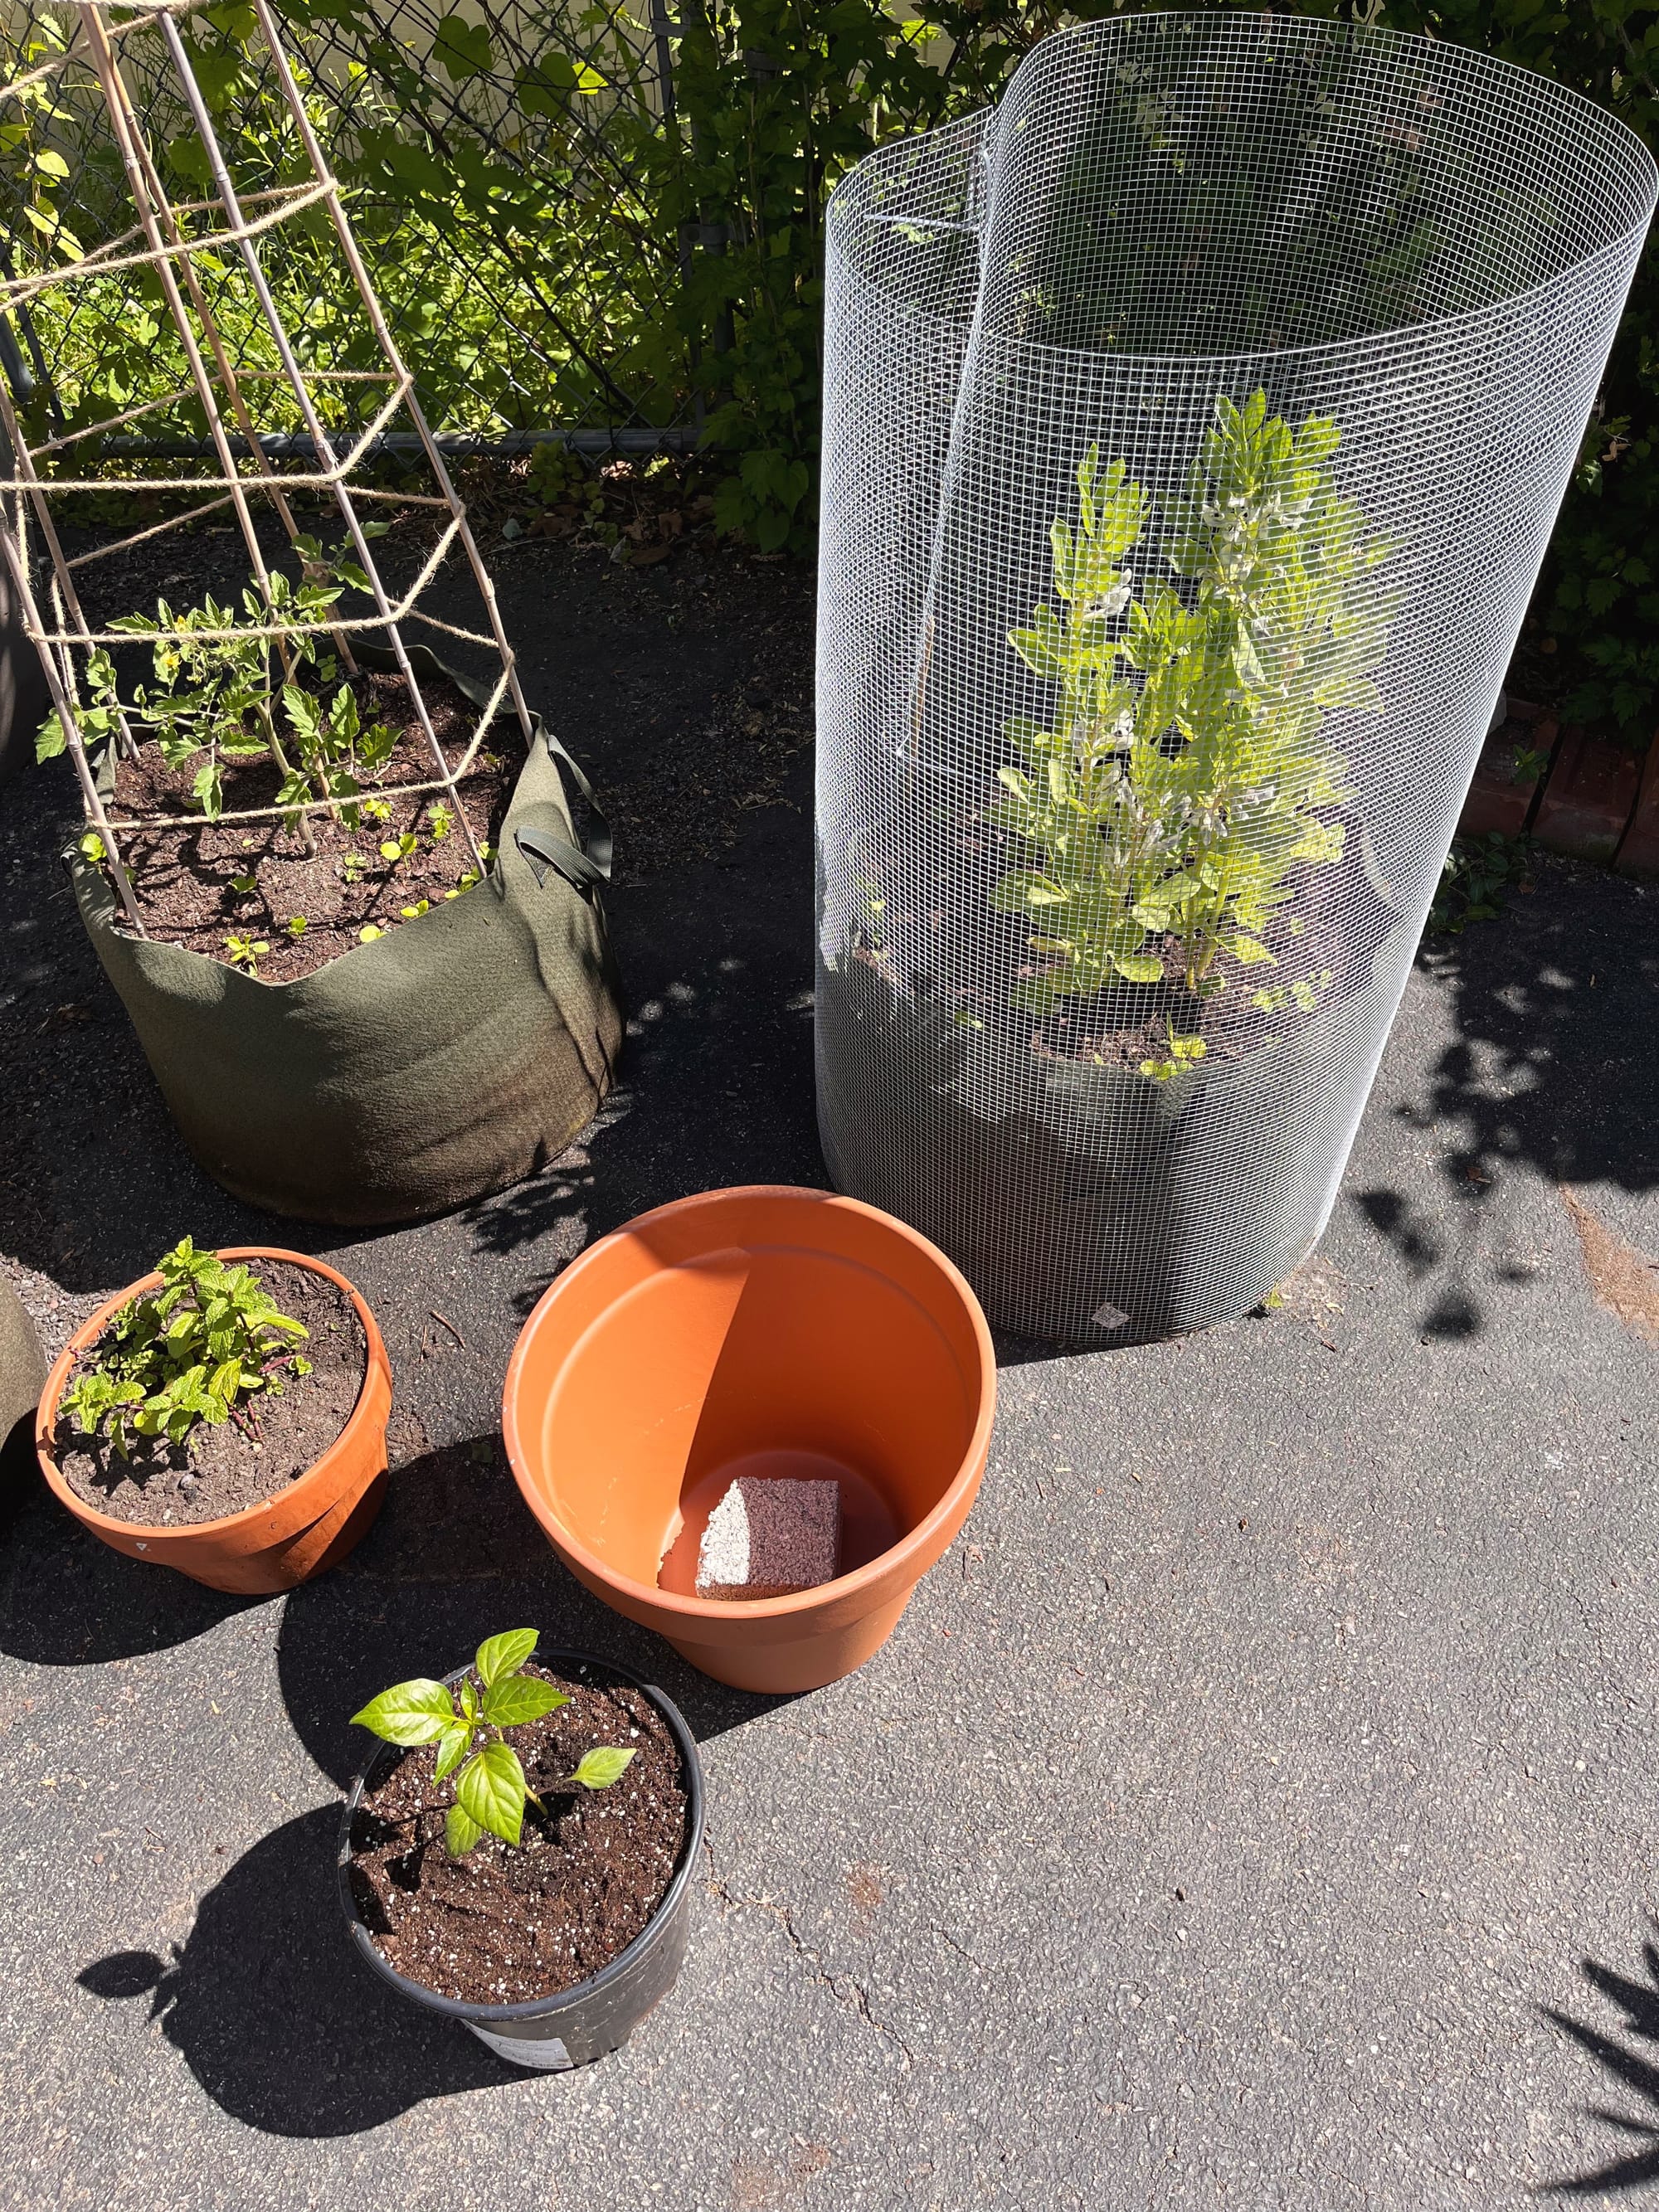
Poor little fava plants, trapped in a cage to keep them safe from the deer. I’ve put a wire cloche over the baby pepper for the same reason.
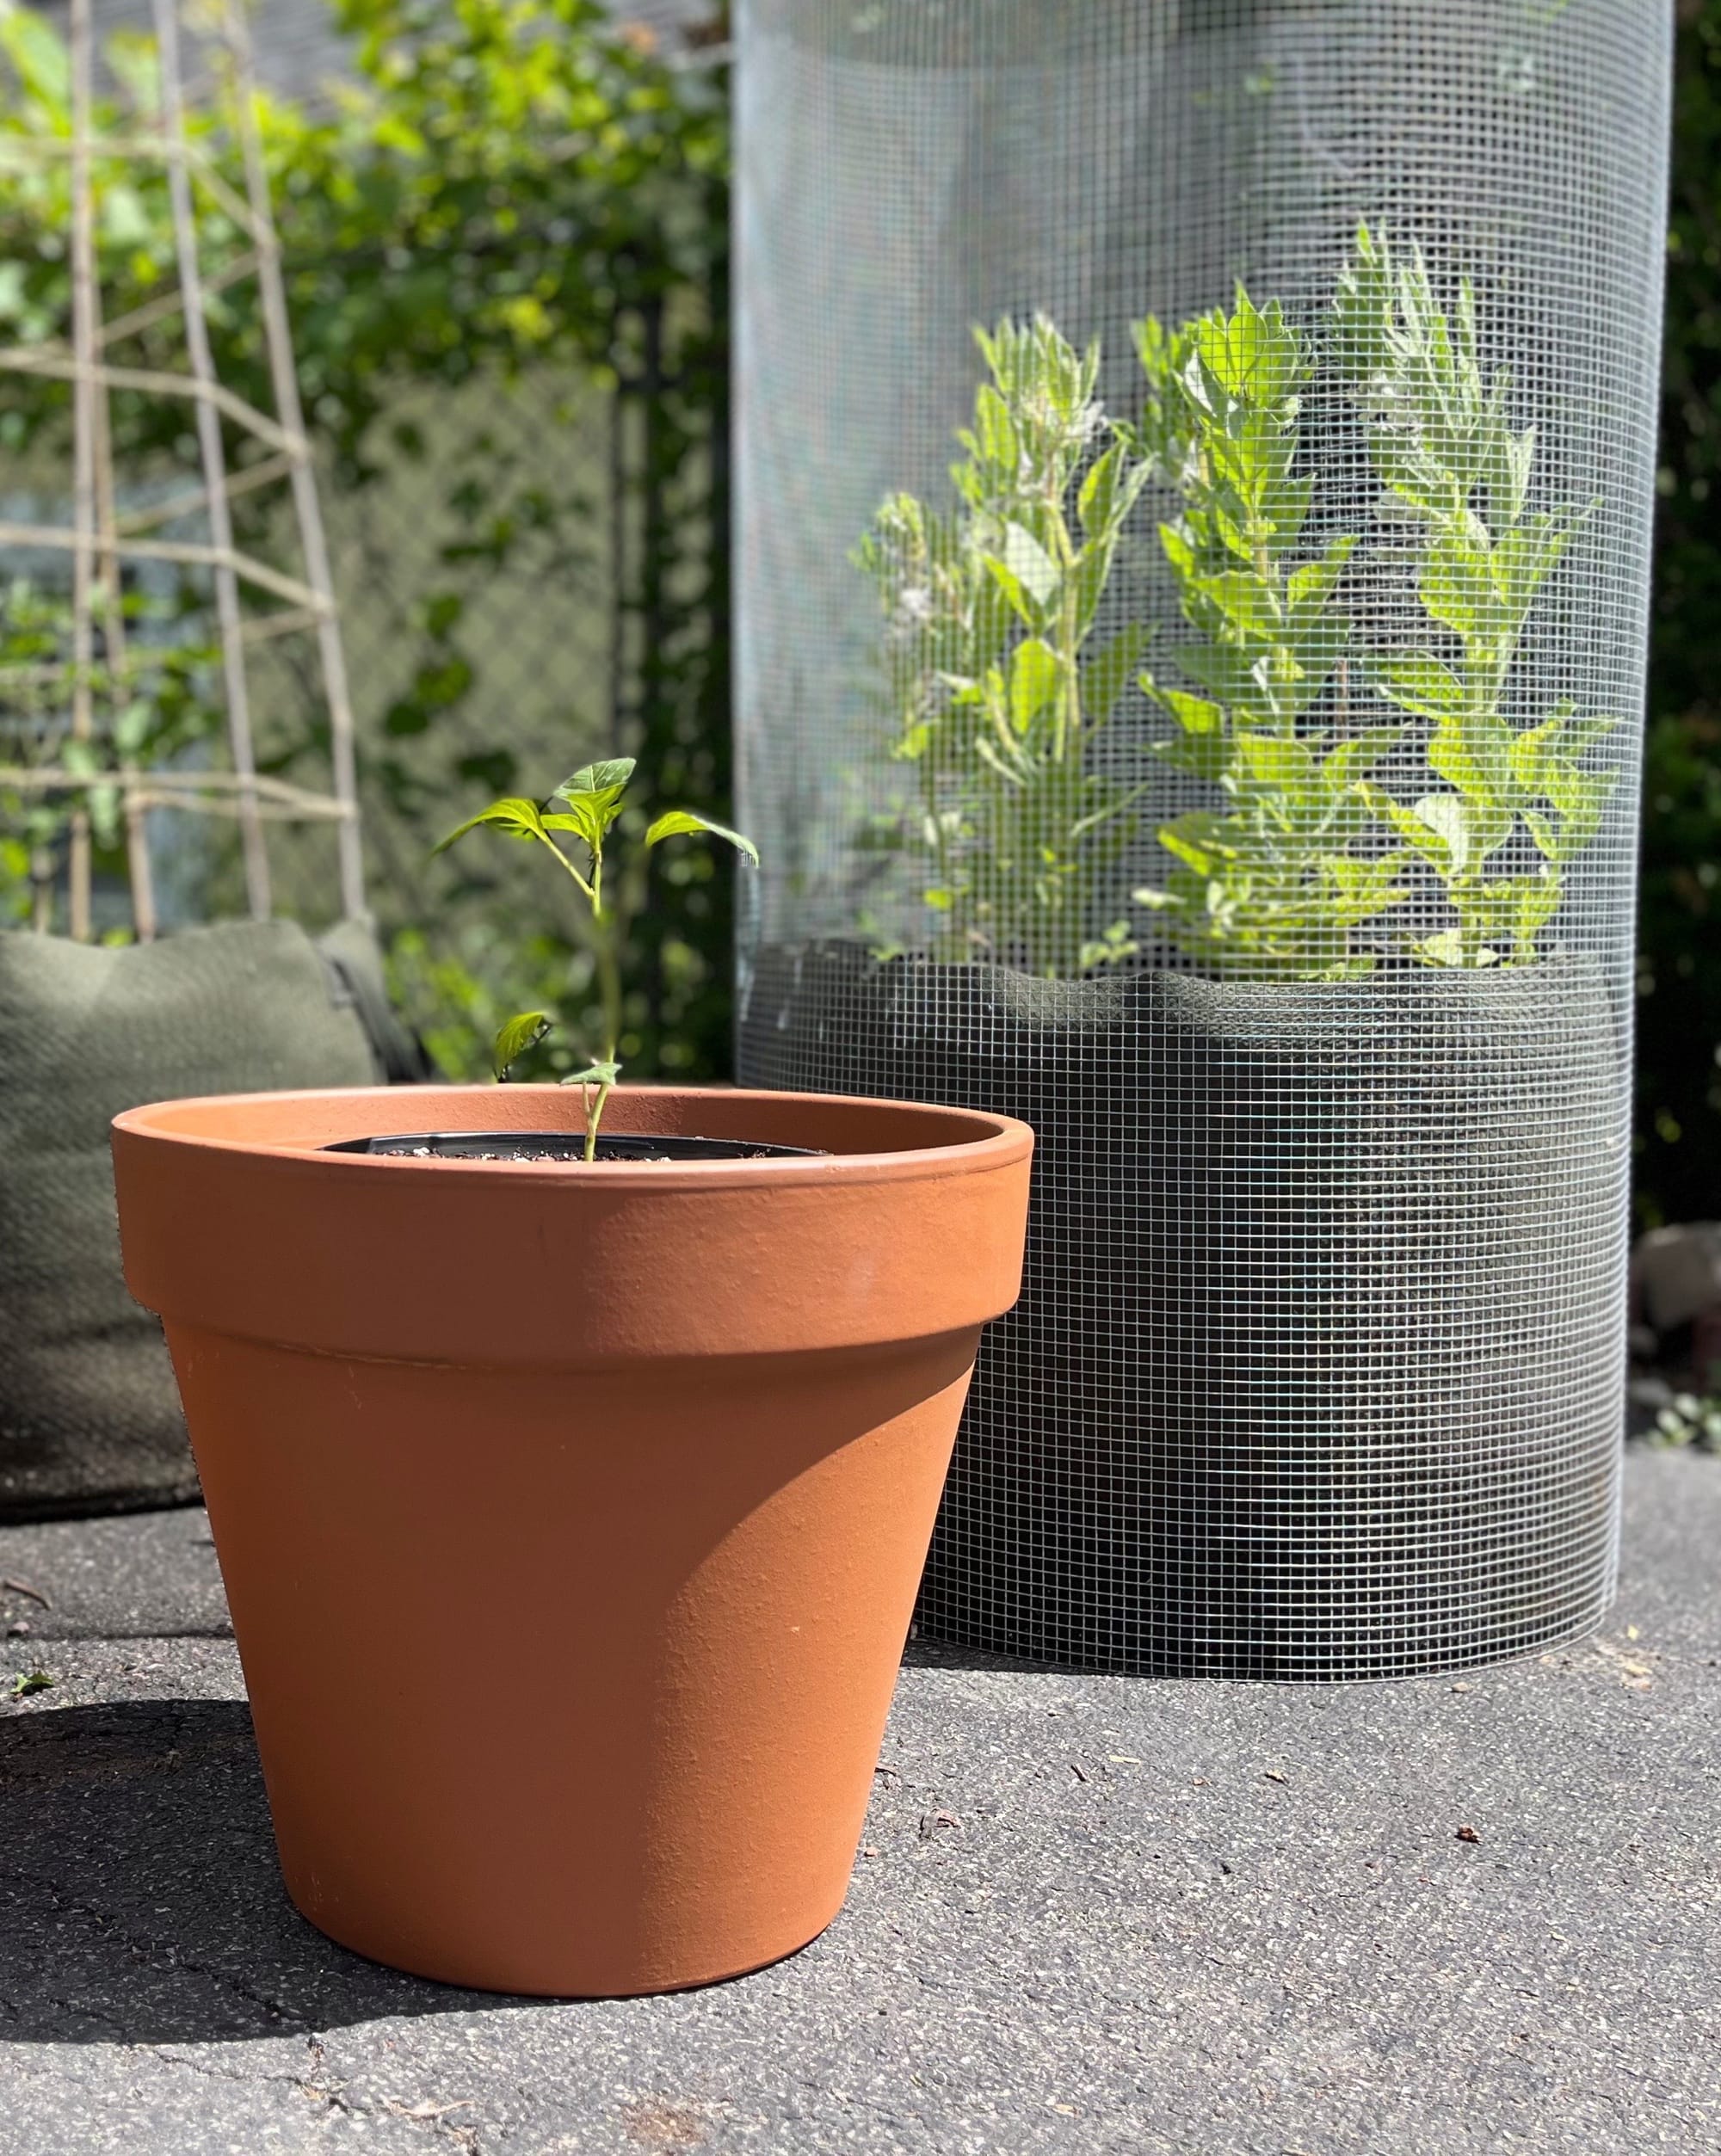
Mostly just for looks, and to keep the sun from baking the black nursery pot dry even quicker, I’ve set it down into a terra cotta pot on a hunk of brick. It can get growing happily here while I wait to see what the favas want to do. (Will they form pods before the heat gets them? Can’t wait to see.) And once the favas have run their course, I’ll pot the pepper as gently as possible into the soft pot, where the favas will have fixed the soil from last year’s tomato plant. This way the pepper seedling gets to do its thing as quickly as possible rather than suffering setbacks from multiple transplants. And then the terra cotta pot will be free for other purposes.
.
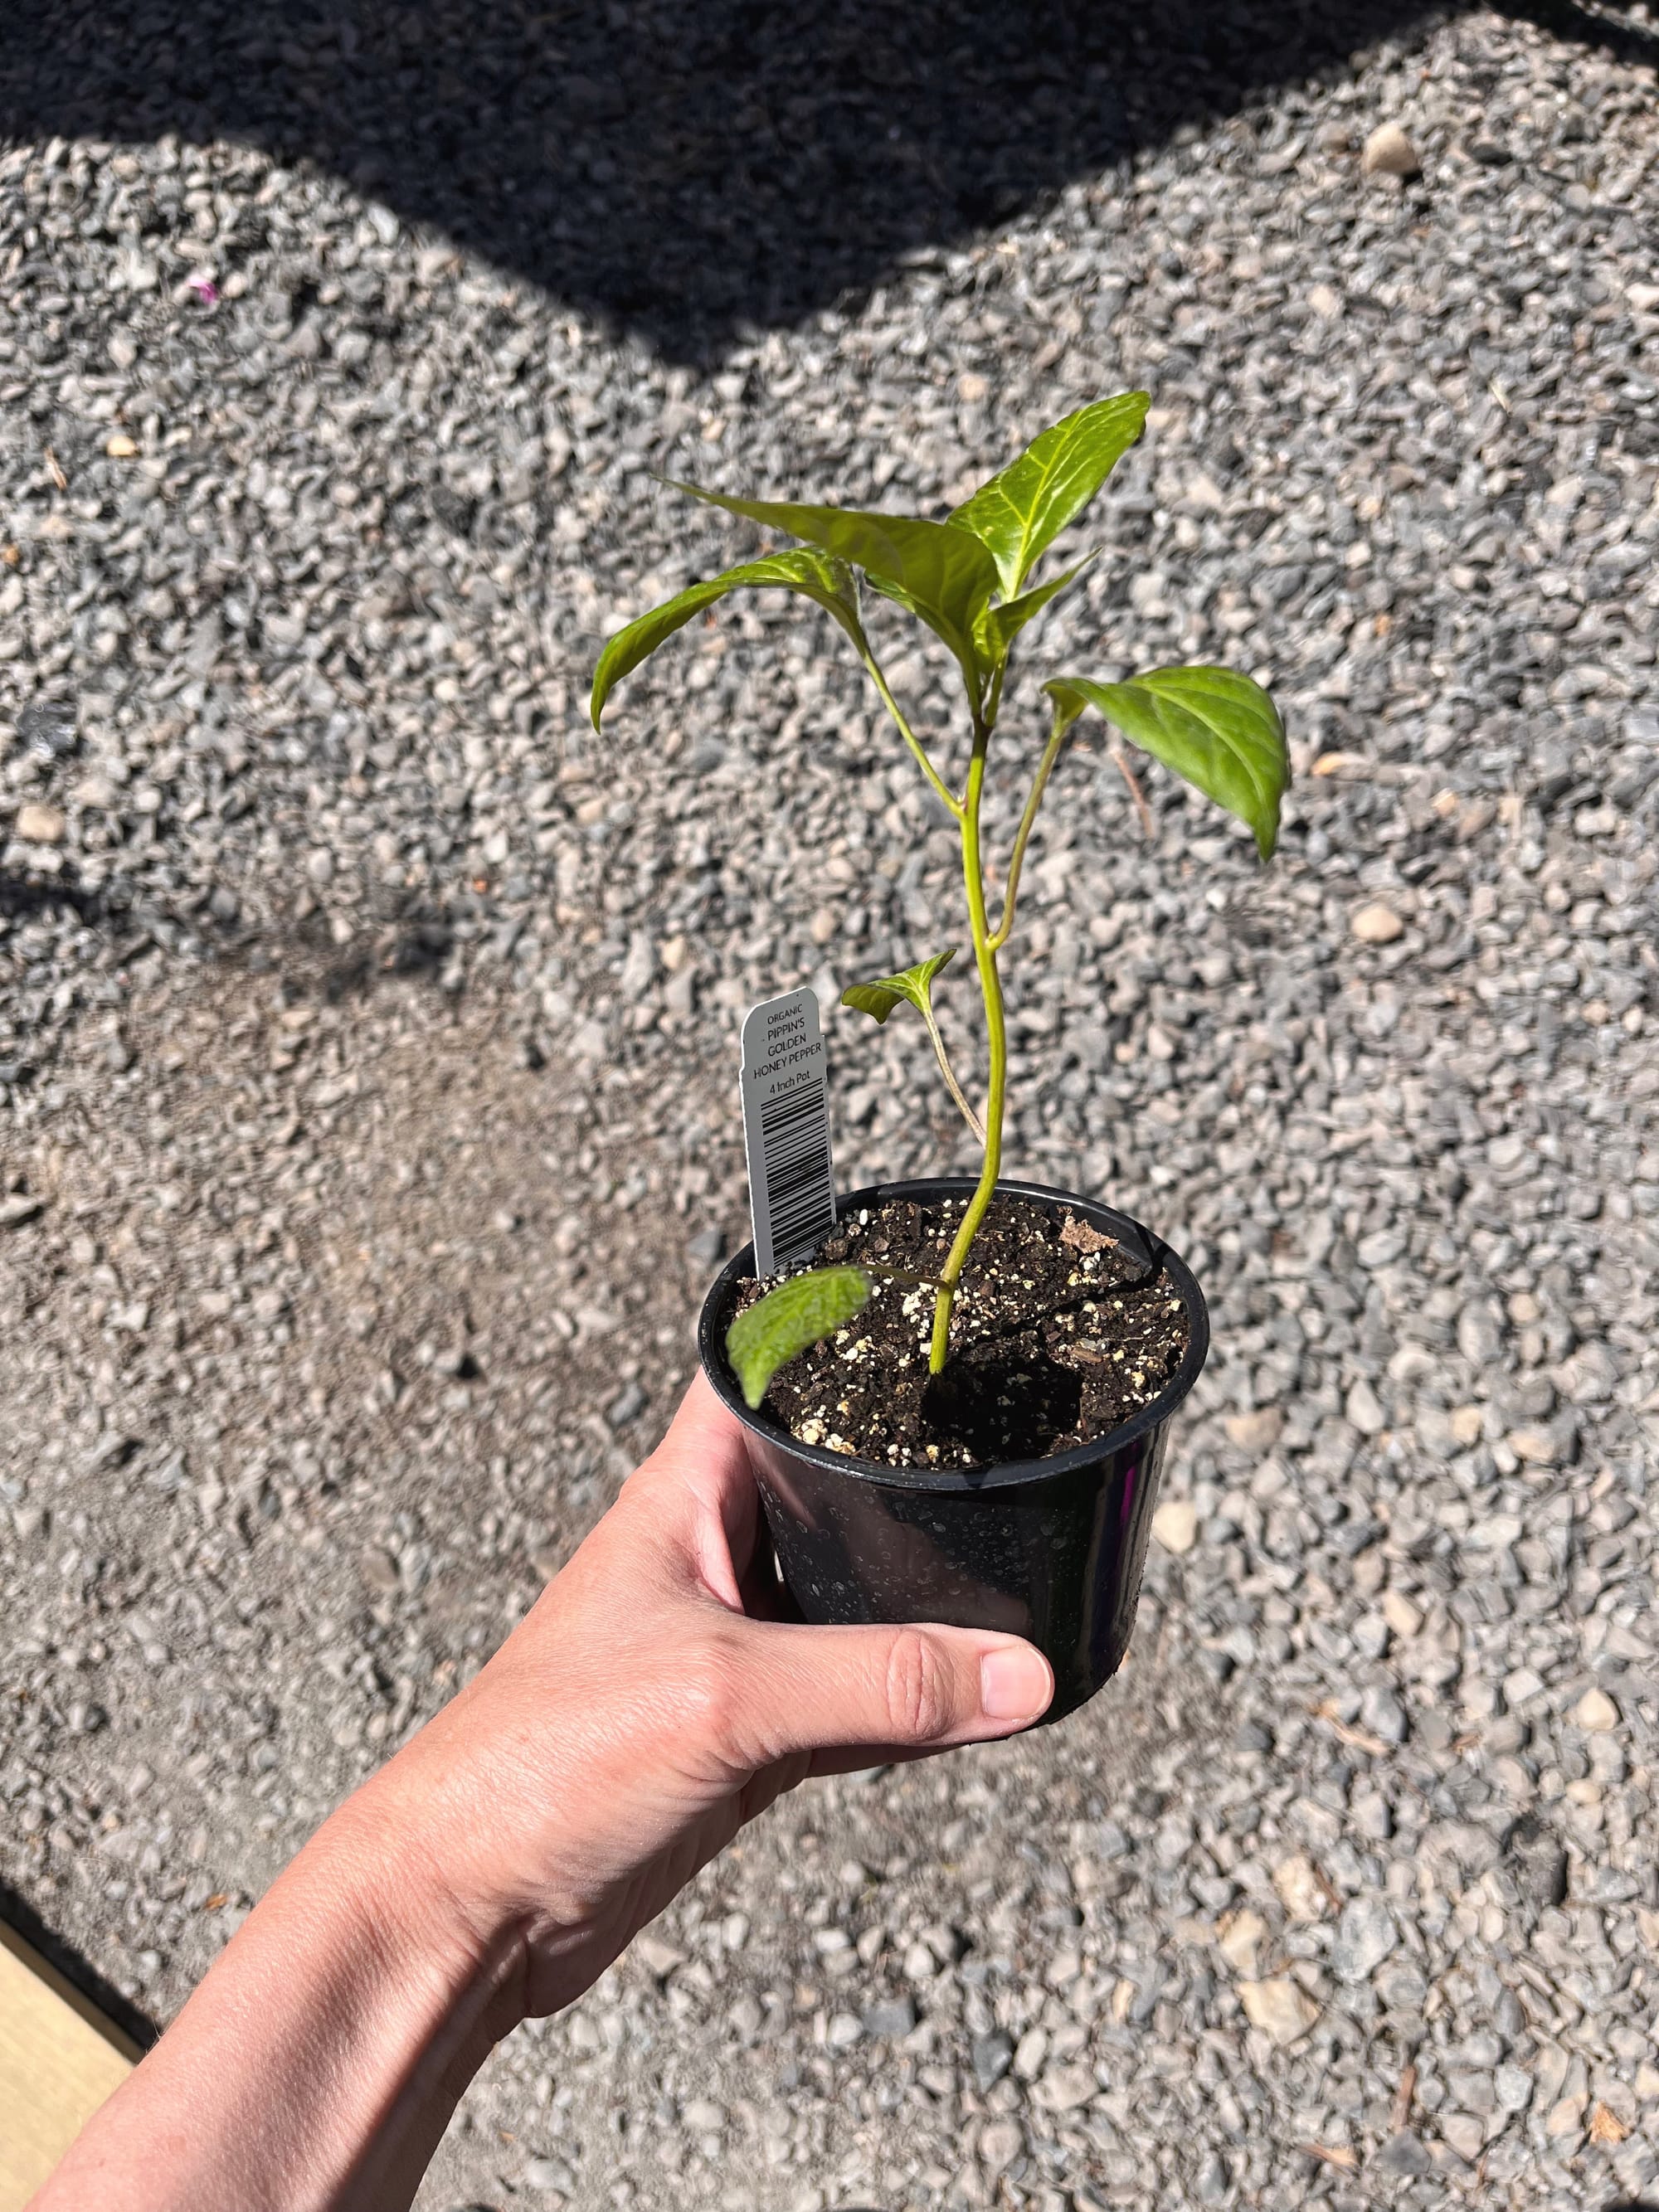
p.s. This is a sweet pepper called Pippin’s Golden Honey Pepper. Never heard of it, so that’ll be fun to see.
p.p.s. Speaking of nightshades, I keep forgetting ground cherries are in the nightshades family, so they can’t go into the raised bed with the pears and blueberries after all. I’ve put the two remaining seedlings into a 10-gal black nursery pot, spaced wide apart, which is the best I can offer them right now. It’ll be what it’ll be!